Damn it... just wrote all this evenings post out and a bodge deleted it..... >

:'(
Well here we go again!!!
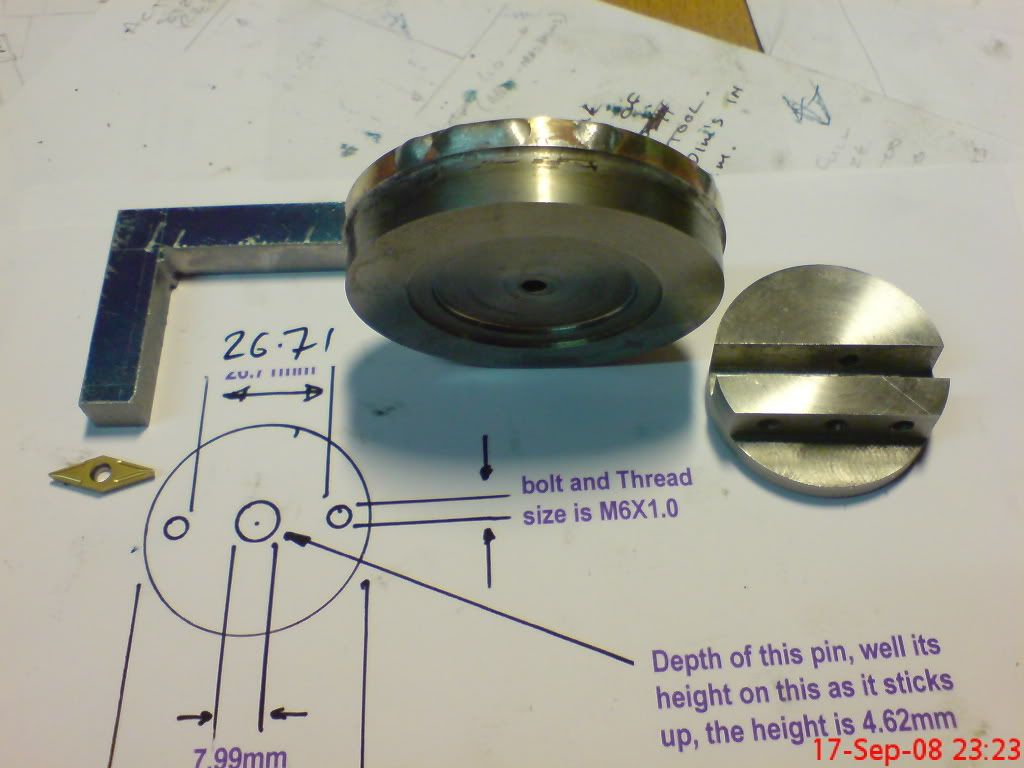
This evening was spent re-designing and modifying the BT base. I am making this off of pictures and supplied measurements. So when I found I had missed a dowel height when I drew up my plan I was not totally shocked!
This is how I sorted it out.... First, find a suitable bit of plate....Brass it is then!
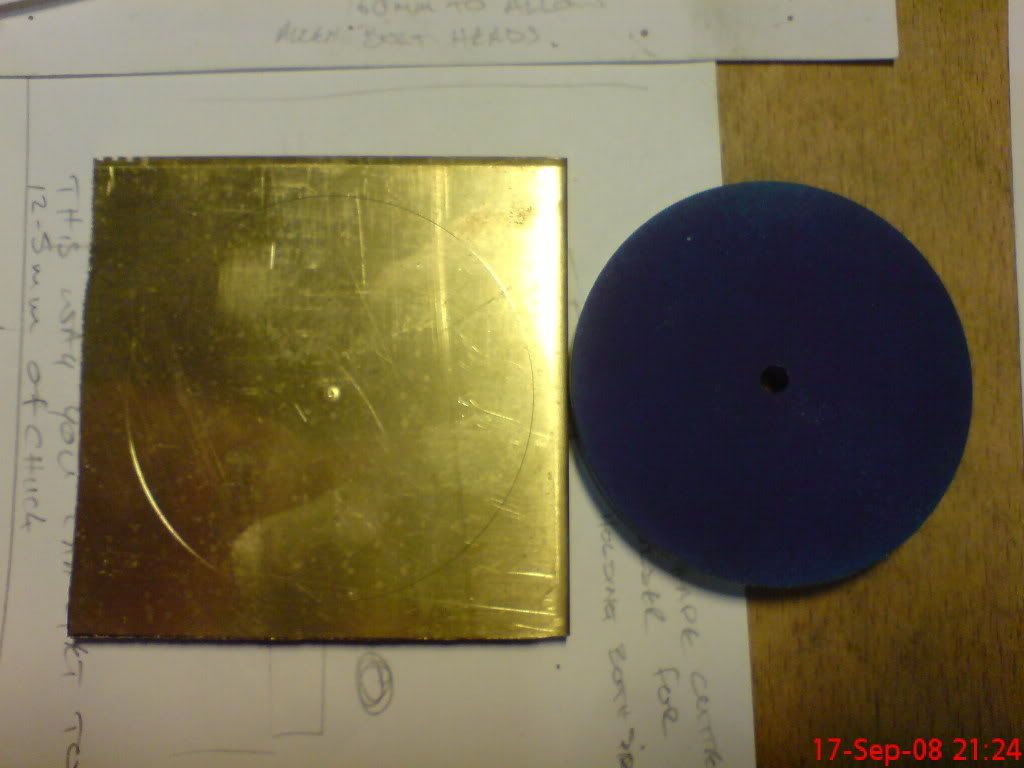 mini ball turner.....
Then make it the shape you need it... round in this case. It was mounted on an arbour after having the corners cut off, then turned until slightly over required size.
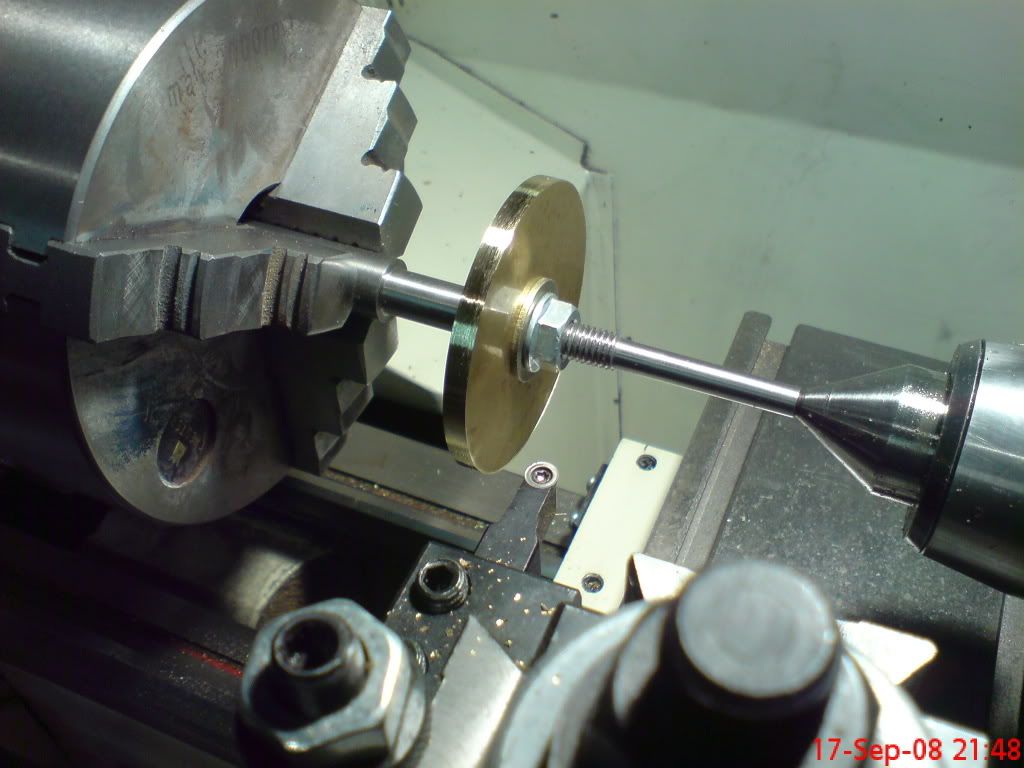 mini ball turner.....
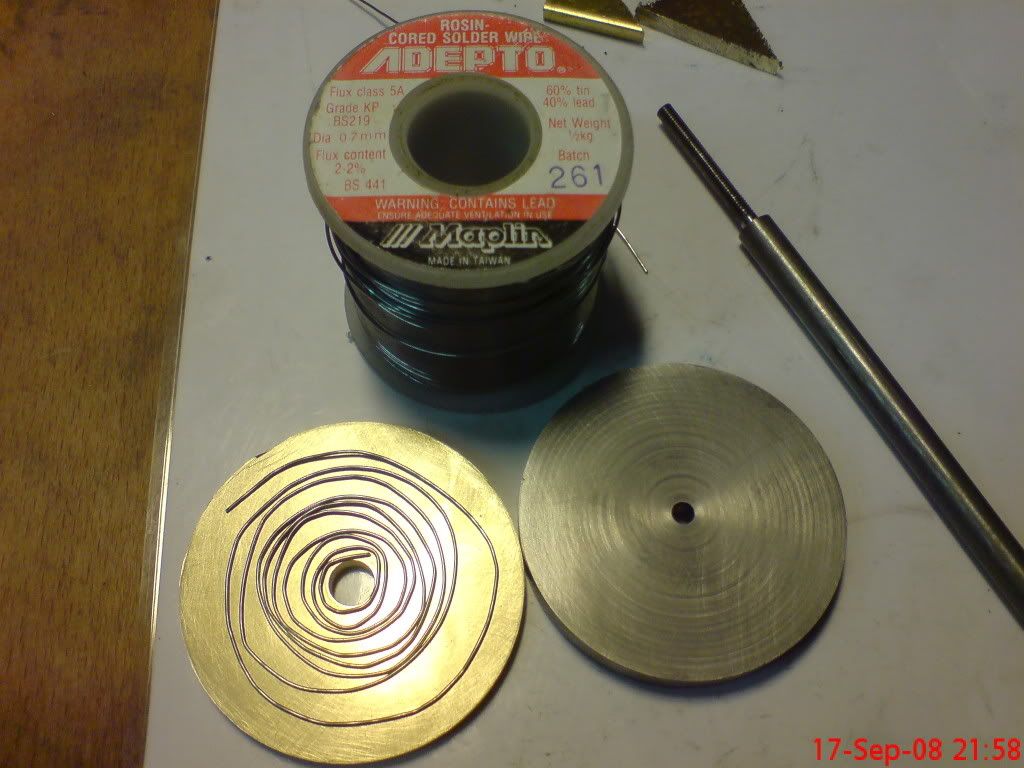
the plate was then de-burred and lightly flatted as was the original base. Flux was applied thinly to the steel base and a soft solder spiral was sandwiched between the two parts. They were mounted on an arbour That I already had and secured in the bench vise.
The blow torch was used in an upward direction and aimed at the centre under the brass disc. once the heat has caused the solder to melt (easily visible when the plates get closer together) the nut is tightened to force out the excess solder and create a good joint.
 mini ball turner.....
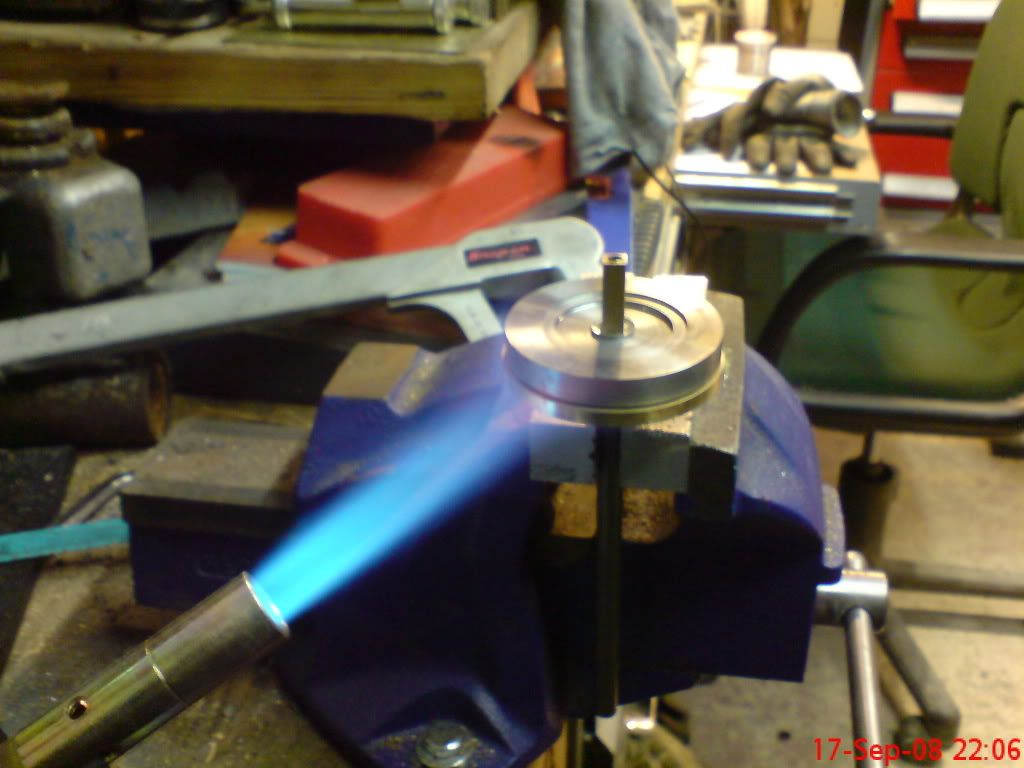 mini ball turner.....
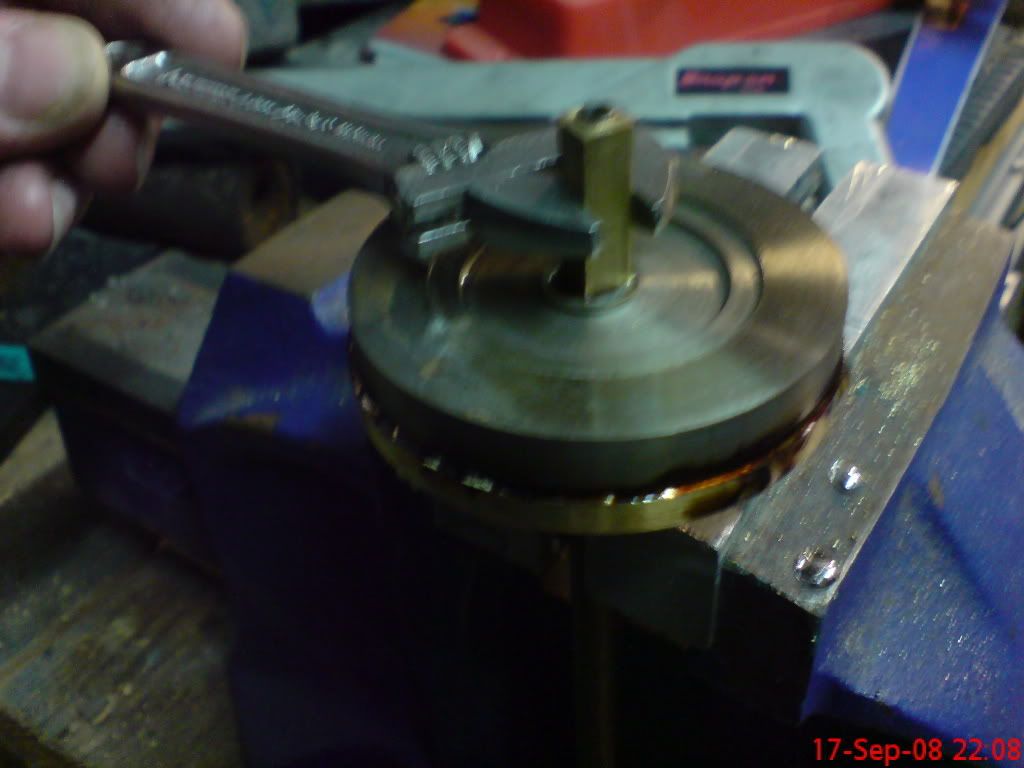 mini ball turner.....
The now tightened and extreamly hot base is left to cool naturally. DO NOT quench the base, the water will force the solder out as it super heats and create a poor joint... It could then seperate in the lathe when finishing is being carried out.
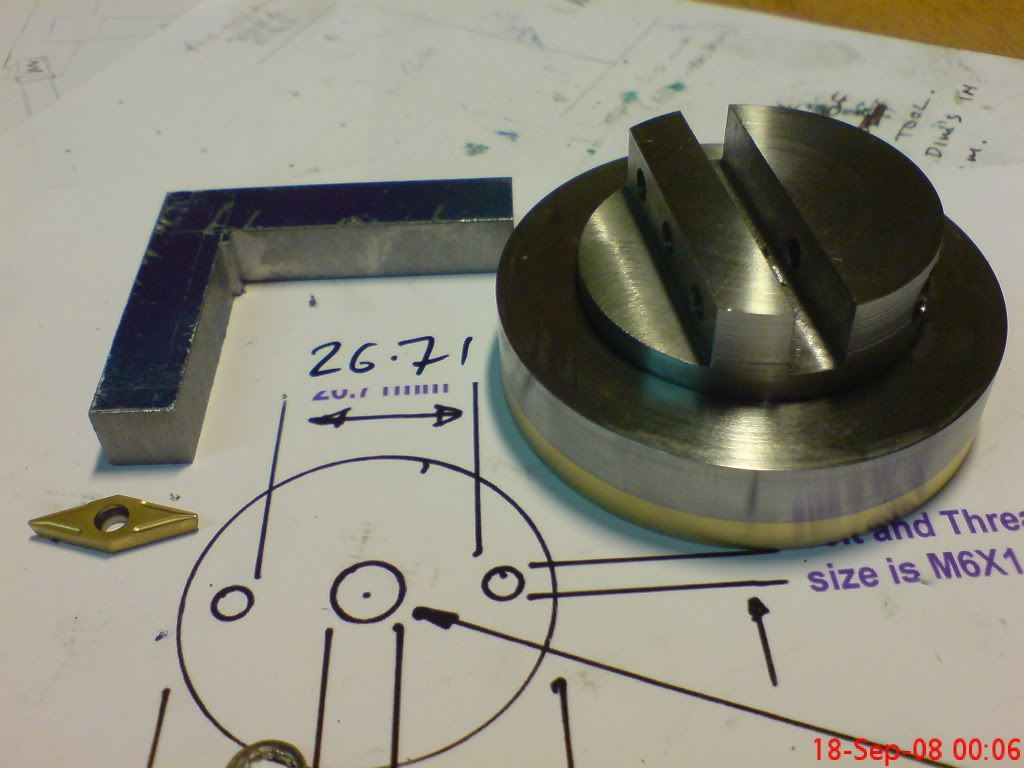
Whilst it was cooling I made the tip holder blank, once it had cooled I turned it to size.
 mini ball turner.....
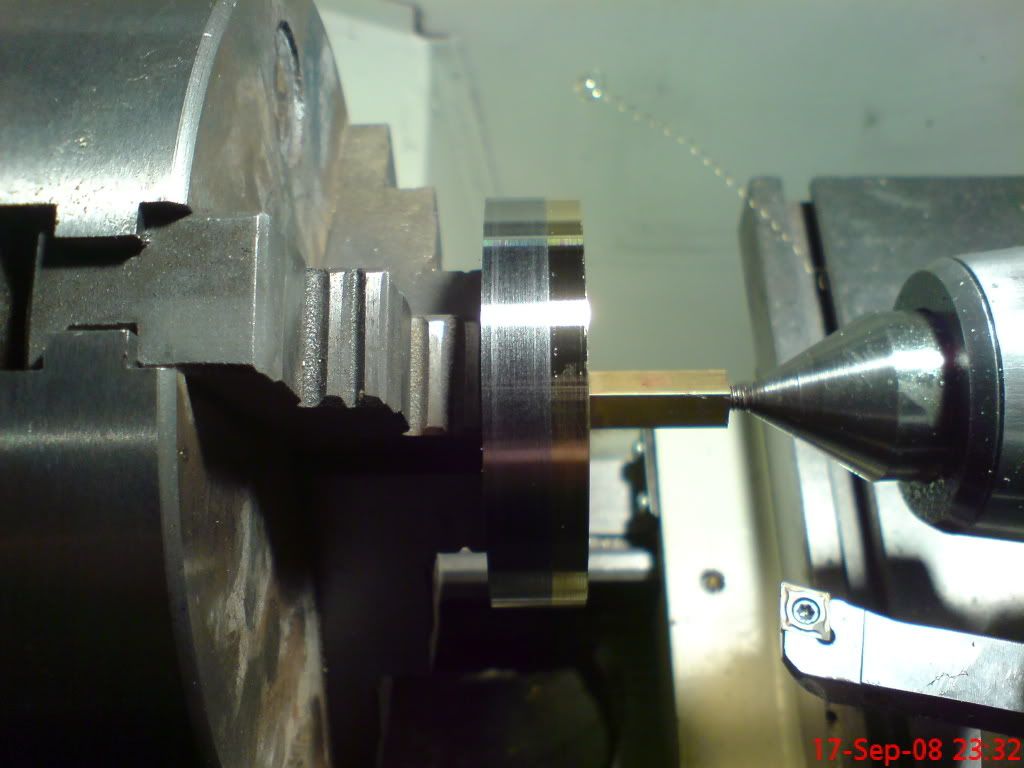 mini ball turner.....
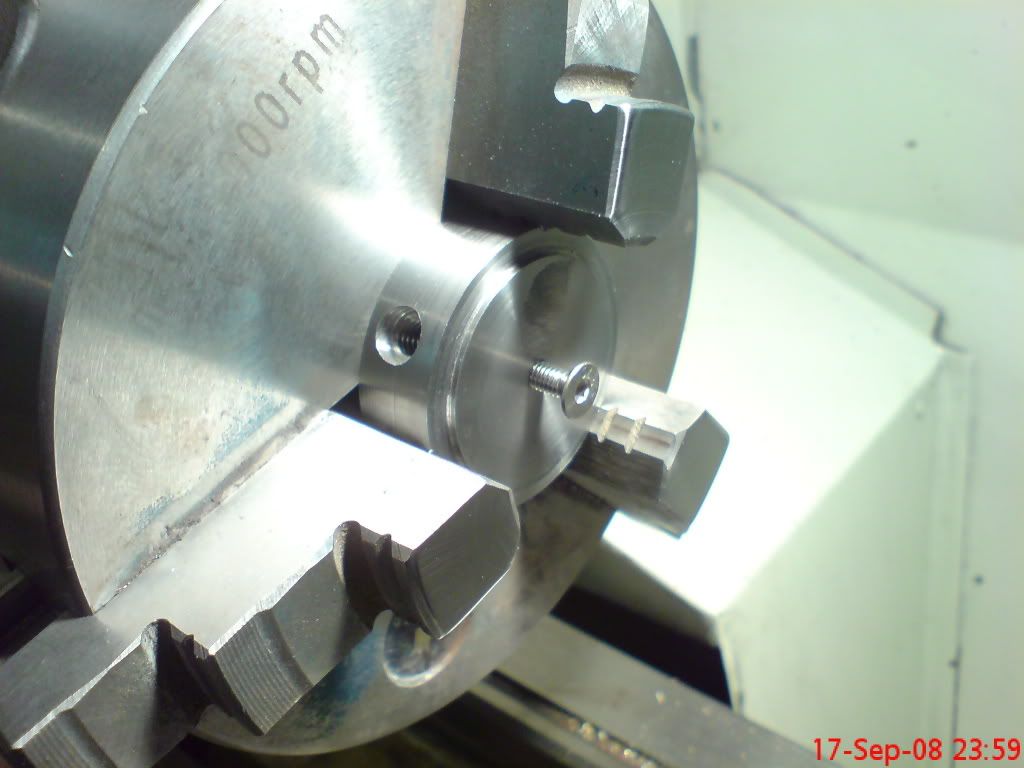
Next I recessed the new base plate for the pivot screw then drilled and tapped the centre of the turret.
 mini ball turner.....
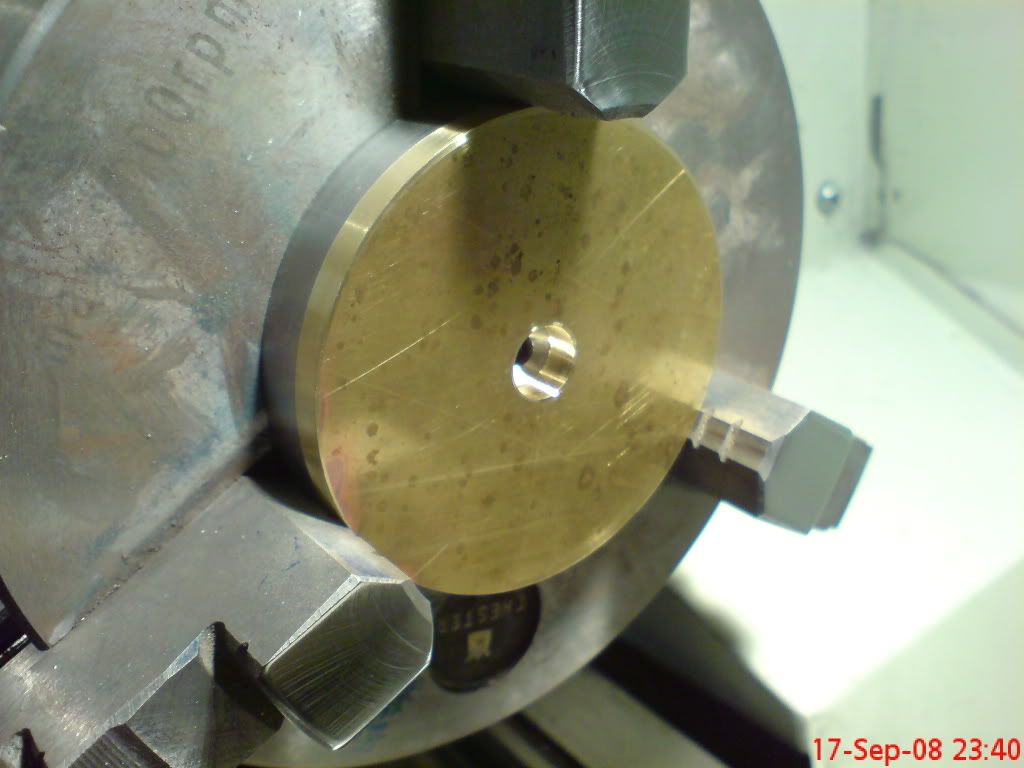 mini ball turner.....
So end of play today has this sat on my bench ;D
 mini ball turner.....
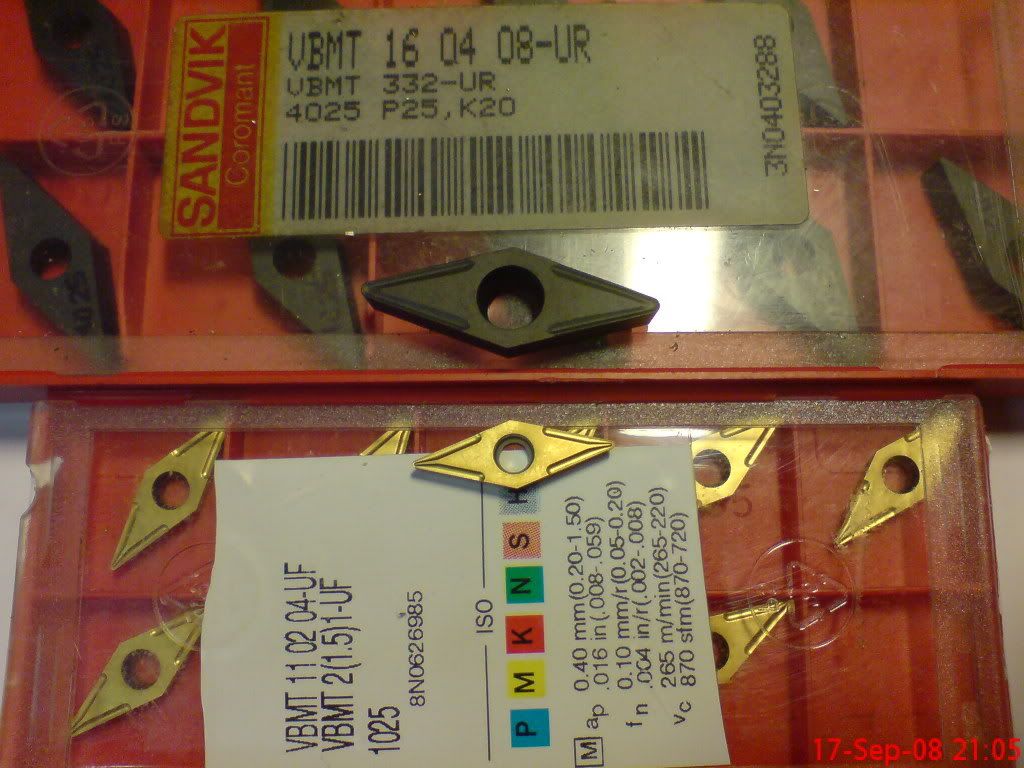
Oh and I got the new tips too....so very tiny compared with the ones for my BT....
 mini ball turner.....
Now at 2am I tink I'd better get some sleep!!! Sorry about the length of the post... So much to say and show!! ;D
Ralph.


