Author Topic: Elmer's horizontal mill engine.  (Read 52348 times)

Offline modeldozer

  • Sr. Member
  • ****
  • Posts: 299
  • Country: es
  • Valencia, Spain
    • AJ´s Truckmodeling
Re: Elmer's horizontal mill engine.
« Reply #25 on: January 02, 2015, 05:56:13 PM »
Hi to all,

   Hope 2015 is a happy, healthy and prosperous year for all.

Next up a piece of the off cut CI was turned to form the piston.


The hole in the piston ended up to loose a fit on the pushrod so the rod was brazed up and turned down for a tight fit in the piston.
The picture did not come out that well.


The piston was then finished while mounted on the pushrod.


For the next task I will be attempting to get the hidden flywheel from within a slice of CI.


A template was used to drill and tap some fixing holes in the slice.


It was then mounted and centered on the faceplate.


The outside skimmed, faced and center hole drilled and bored.


Then it was very slowly turning the recess.


The flywheel was then turned around and reset.  The fist task now is to cut it to length by hand.


Until next time.

Abraham


Offline Stilldrillin

  • Global Moderator
  • Hero Member
  • *****
  • Posts: 4972
  • Country: gb
  • Staveley, Derbyshire. England.
Re: Elmer's horizontal mill engine.
« Reply #26 on: January 03, 2015, 01:41:07 AM »
I love seeing the flywheel, slowly emerging, Abraham.   :clap:

The fist task now is to cut it to length by hand.

More hack-sawing?  :palm:  :(  Good luck/ muscles!  :thumbup:

David D

David.

Still drilling holes... Sometimes, in the right place!

Still modifying bits of metal... Occasionally, making an improvement!

Offline modeldozer

  • Sr. Member
  • ****
  • Posts: 299
  • Country: es
  • Valencia, Spain
    • AJ´s Truckmodeling
Re: Elmer's horizontal mill engine.
« Reply #27 on: January 03, 2015, 04:27:59 PM »
Hi David and George,

       Thanks for the insparation.

BTW half a days hack-sawing later and am about 80% through the sclice. (done with frequent rest)

Cheers
Abraham

Offline modeldozer

  • Sr. Member
  • ****
  • Posts: 299
  • Country: es
  • Valencia, Spain
    • AJ´s Truckmodeling
Re: Elmer's horizontal mill engine.
« Reply #28 on: January 10, 2015, 04:32:22 PM »
Finally managed to cut off the excess.


Faced to size.


And then the slow process of machining the recess was repeated.


Had little shop time and only finished this afternoon.


That concludes the turning work that can be done for now, unfortunately the milling machines bed is not back yet so will have to find an interim project to do while waiting.

Cheers
Abraham

Offline jmhoying

  • Jr. Member
  • **
  • Posts: 15
Re: Elmer's horizontal mill engine.
« Reply #29 on: January 21, 2015, 05:42:42 PM »
Looks like a great project!  I like the photos of the parts with your prints.

Offline modeldozer

  • Sr. Member
  • ****
  • Posts: 299
  • Country: es
  • Valencia, Spain
    • AJ´s Truckmodeling
Re: Elmer's horizontal mill engine.
« Reply #30 on: March 01, 2015, 01:32:58 PM »
Finally got the mill bed back and fitted. Started machining the two pieces of the base square and to size.


For the long facing cuts I experimented with a stepper motor as power feed.


For now am using a pulse generator of eBay but, it is not performing as I would like at slow speeds so will be building a different one.


Am quite happy with the finish.


A short video of it in action.


The one piece was quite a bit wider than needed and I do not have any means to slice it down so an end mill was used to cut it down, also under power feed and it cuts like butter.


Cheers
Abraham

Offline CrazyModder

  • Jr. Member
  • **
  • Posts: 86
  • Country: de
Re: Elmer's horizontal mill engine.
« Reply #31 on: March 01, 2015, 03:53:48 PM »


What do you use to glue down your templates? Just some random paper glue, like what kids use? Or is there something special?

Online philf

  • Hero Member
  • *****
  • Posts: 1114
  • Country: gb
Re: Elmer's horizontal mill engine.
« Reply #32 on: March 01, 2015, 04:05:15 PM »
What do you use to glue down your templates? Just some random paper glue, like what kids use? Or is there something special?

CrazyModder,

Pritt Stick works for me. Cleans off with water.

Phil.
Phil Fern
Location: Marple, Cheshire

Offline modeldozer

  • Sr. Member
  • ****
  • Posts: 299
  • Country: es
  • Valencia, Spain
    • AJ´s Truckmodeling
Re: Elmer's horizontal mill engine.
« Reply #33 on: March 02, 2015, 08:51:52 AM »
Hi crazymodder,

I use clear contact adhesive, gives a good bond and "peels" of after.

Abraham

Offline modeldozer

  • Sr. Member
  • ****
  • Posts: 299
  • Country: es
  • Valencia, Spain
    • AJ´s Truckmodeling
Re: Elmer's horizontal mill engine.
« Reply #34 on: March 30, 2015, 08:25:01 PM »
Hi all.

Finally got the power feed working. The material for the base and sub-base was machined square and to size.


The sub-base was drilled and the slots for the anchors cut, drilled and taped.


The holes from the bottom of the base was drilled, taped and counter sunk.


Flipped over and the top was drilled and taped. The slot for the crank was partially cut with an end mill, have a side and face cutter on order to finish the slot.


The top face was given a light skim to finish it off.


And the two bases together.


Two strips of plate was squared and machined to size for the anchors.


Made a simple bracket to setup the rotab.


The rotab was used to round over the ends of the anchors.  Things got a bit involved and I forgot to take any pics.
After mounting the anchors to the sub-base the assembly was given a face cut.


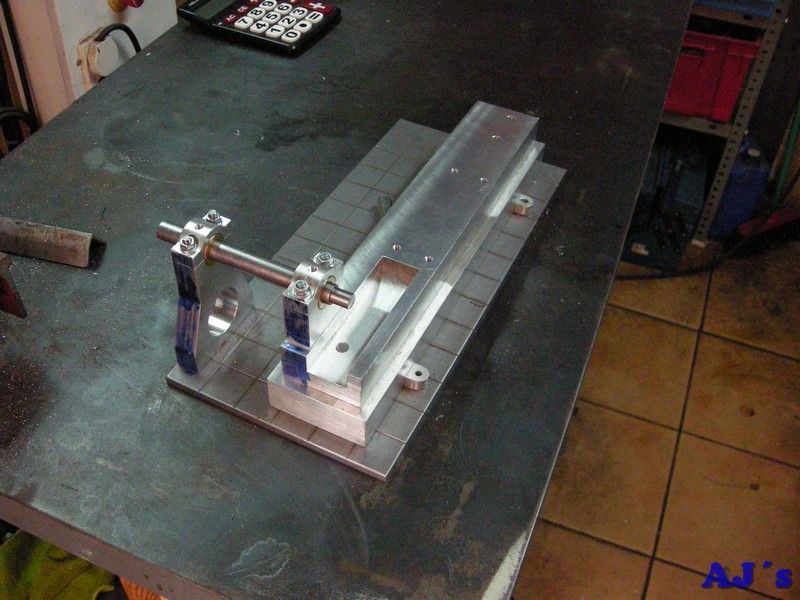
The base assembly so far.


Cheers
Abraham

Offline Ginger Nut

  • Full Member
  • ***
  • Posts: 232
Re: Elmer's horizontal mill engine.
« Reply #35 on: March 30, 2015, 11:16:02 PM »
Looks great mind if I pull up a chair view the action. 

Offline modeldozer

  • Sr. Member
  • ****
  • Posts: 299
  • Country: es
  • Valencia, Spain
    • AJ´s Truckmodeling
Re: Elmer's horizontal mill engine.
« Reply #36 on: March 31, 2015, 06:56:15 AM »
Hi Ginger Nut.

Thanks, feel free to view the action.

Abraham

Offline vtsteam

  • Global Moderator
  • Hero Member
  • *****
  • Posts: 6466
  • Country: us
  • Republic of Vermont
Re: Elmer's horizontal mill engine.
« Reply #37 on: March 31, 2015, 03:00:22 PM »
Nice!  :thumbup: :clap:
I love it when a Plan B comes together!
Steve
https://www.youtube.com/watch?v=4sDubB0-REg

Offline modeldozer

  • Sr. Member
  • ****
  • Posts: 299
  • Country: es
  • Valencia, Spain
    • AJ´s Truckmodeling
Re: Elmer's horizontal mill engine.
« Reply #38 on: April 01, 2015, 04:57:13 AM »
Tkanks Steve.

Abraham

Offline modeldozer

  • Sr. Member
  • ****
  • Posts: 299
  • Country: es
  • Valencia, Spain
    • AJ´s Truckmodeling
Re: Elmer's horizontal mill engine.
« Reply #39 on: April 05, 2015, 05:02:11 PM »
Hi fellow modders,

For the next part a piece of aluminium was machined square.


The centre was located.


And the top machined and drilled to form this,


A template was printed and fixed to the rotary table,


This was used to locate the part and machine the top radius.


The part was reset in the vice,


And split with a slitting saw.


The bottom half was machined to length and the holes taped.


The two halves bolted together.


And fitted on the base assembly.


By now it should be clear as to what it is.  The hole for the bearing will be line bored with both bearing posts in place.
For the other post a slab of aluminium was again machined square and to size.


That’s all for now.

Cheers
Abraham

Offline modeldozer

  • Sr. Member
  • ****
  • Posts: 299
  • Country: es
  • Valencia, Spain
    • AJ´s Truckmodeling
Re: Elmer's horizontal mill engine.
« Reply #40 on: April 12, 2015, 07:52:43 AM »
Next up, the large hole was drilled and bored.


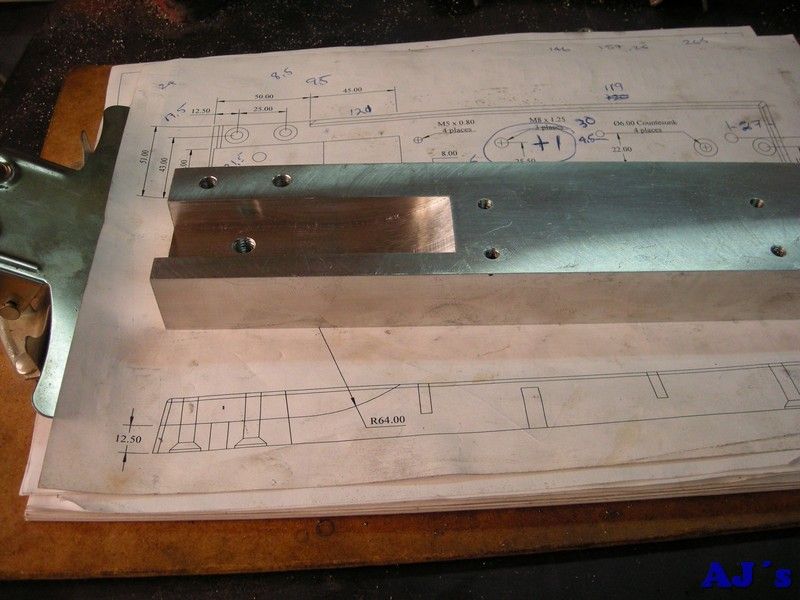
The mounting holes in the bottom was drilled and taped.


The top end was cut down and machined.


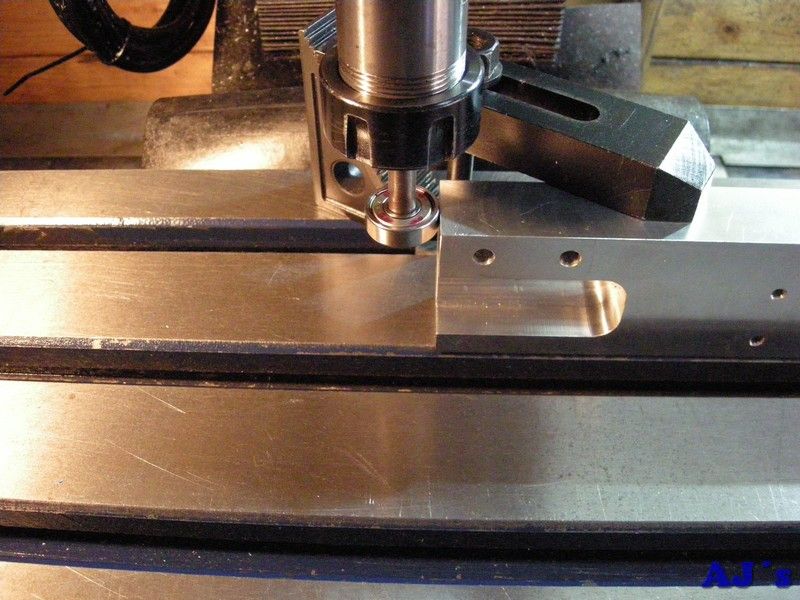
A ball nose cutter was used to finish the small radius on the sides.


Sides all done.


The top end was done the same as the short post.


Made some studs in the lathe.


All the base parts together.


The cutter for cutting the crank slot arrived, so next up is making an arbor for it.


Cheers for now.
Abraham


Offline modeldozer

  • Sr. Member
  • ****
  • Posts: 299
  • Country: es
  • Valencia, Spain
    • AJ´s Truckmodeling
Re: Elmer's horizontal mill engine.
« Reply #41 on: May 03, 2015, 09:56:37 AM »
Hi all,

Got so involved in building the engine I did not do any updates in a while.

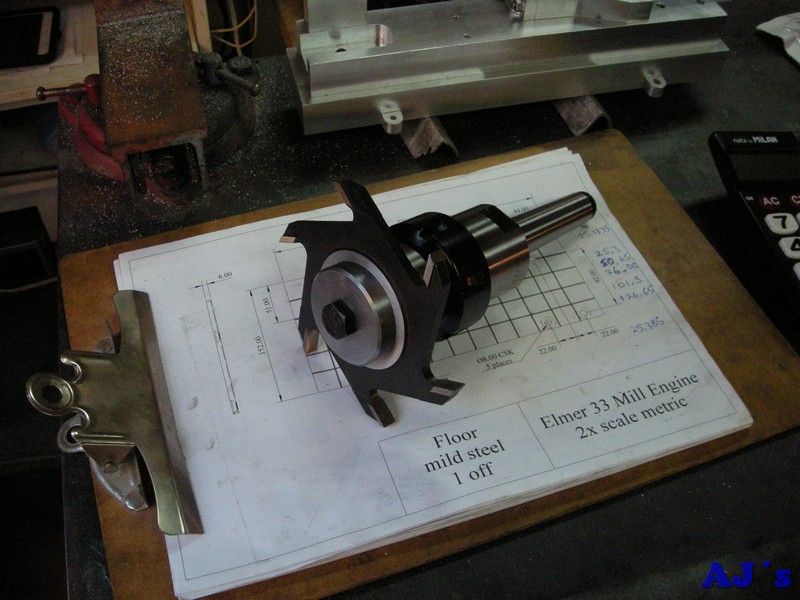
Finished the arbor, to be used later.


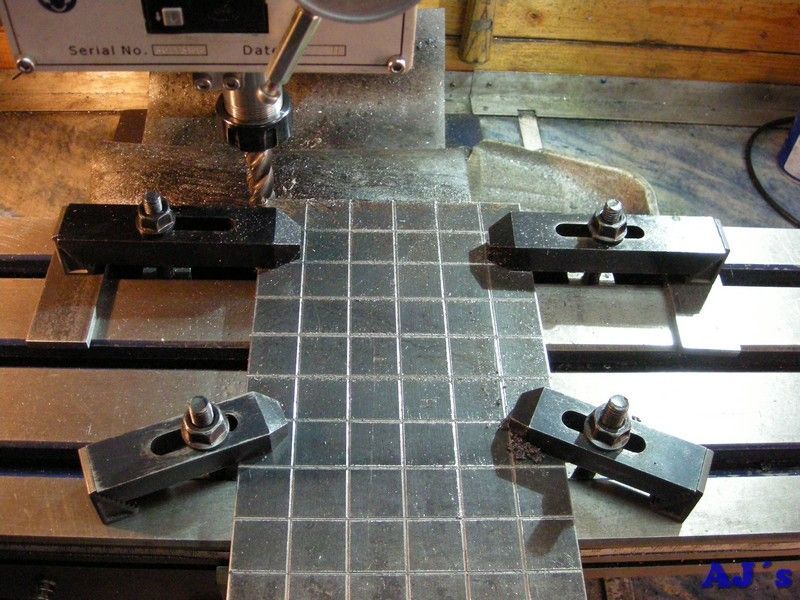
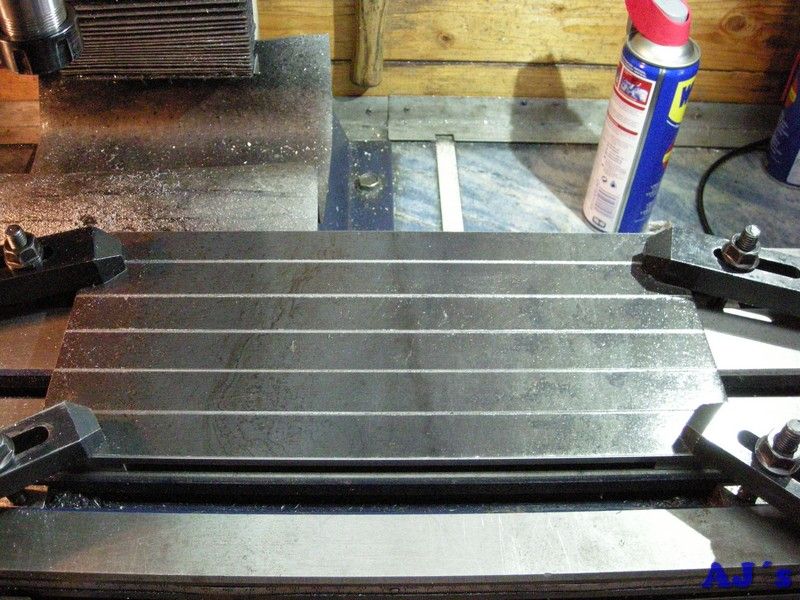
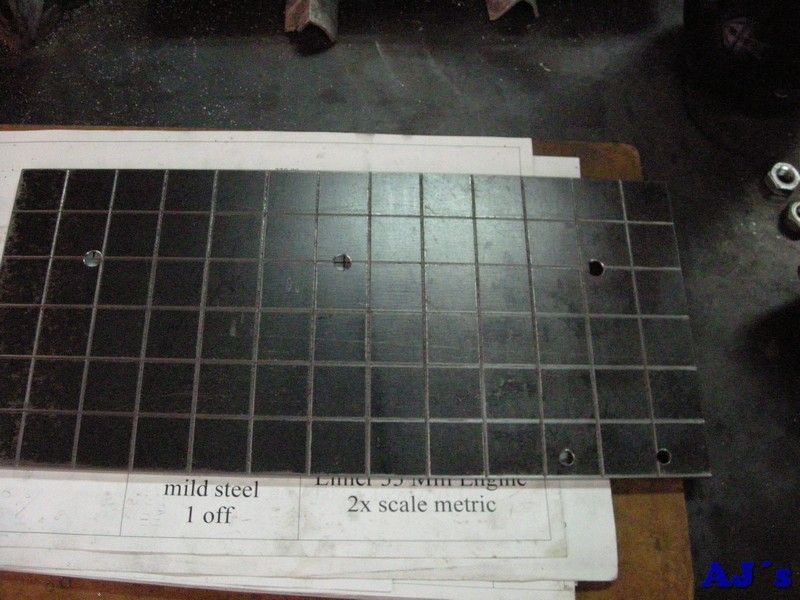
Mounted a piece of 6mm mild steel plate on the mill and machined the long sides parallel and to size.  Then using a spot drill some grooves was “engraved” lengthwise.


The mill does not have enough cross travel to do the sides, so the work was rotated and the one end milled square.  Half of it was then grooved.
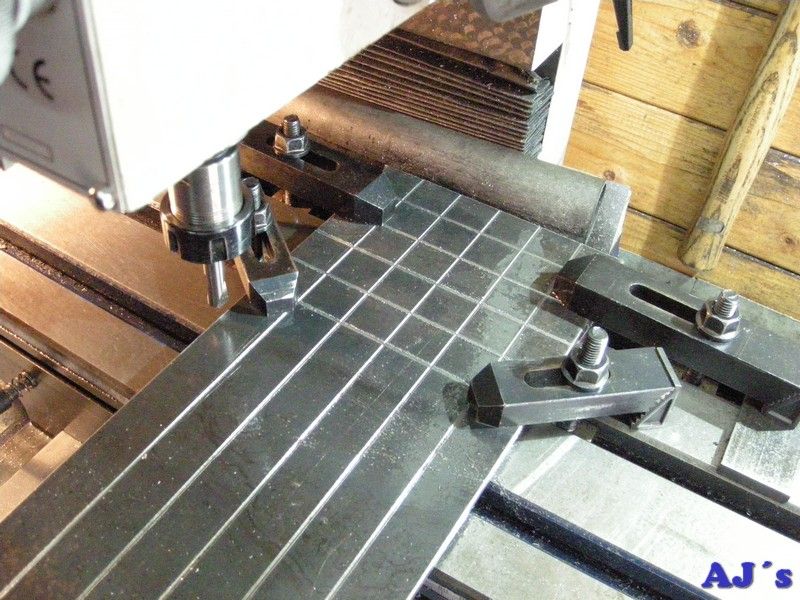


Then rotated 180º and the last groove picked up to finish the grooving to the end.  The end was then milled square and to length.
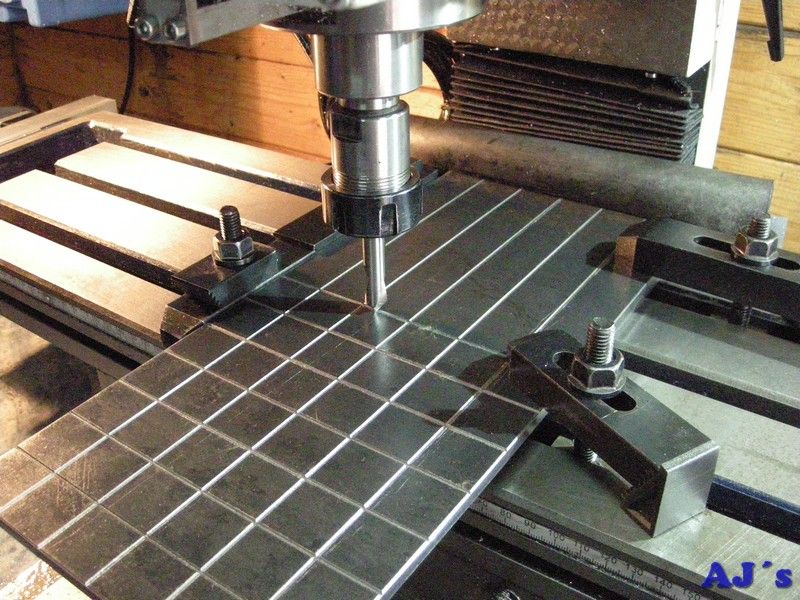


The plate was flipped over and all the hole drilled and counter sunk.
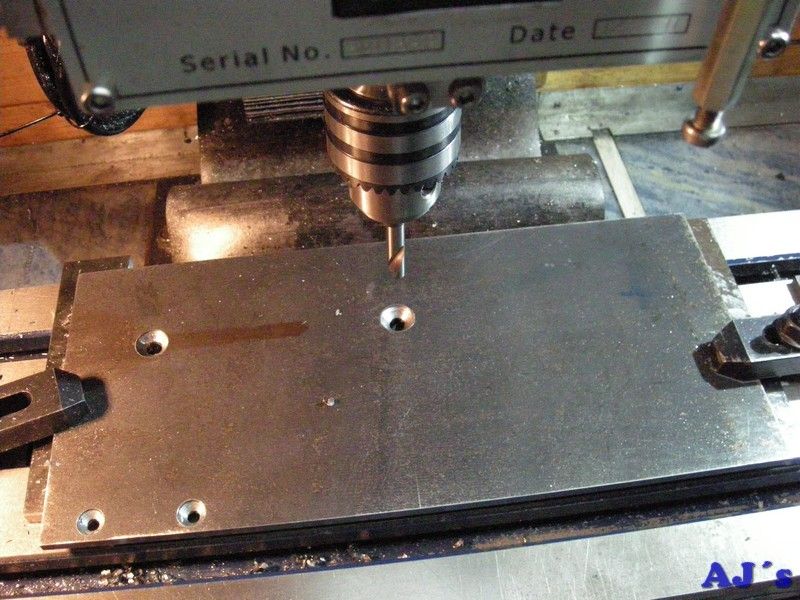


All done.


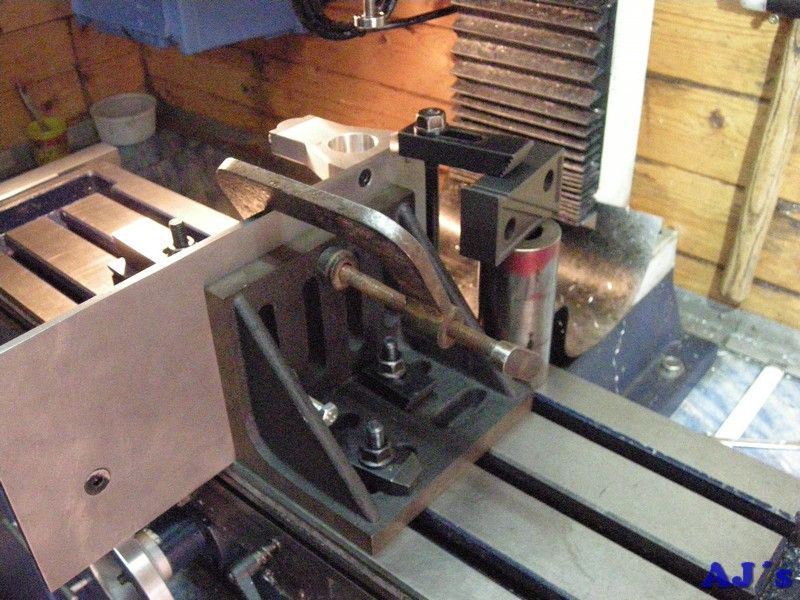
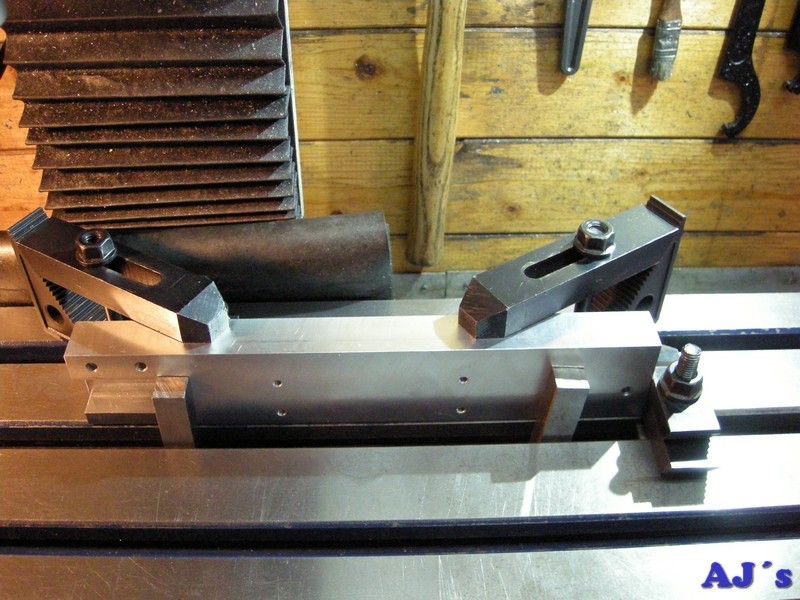
The base was mounted on its side.


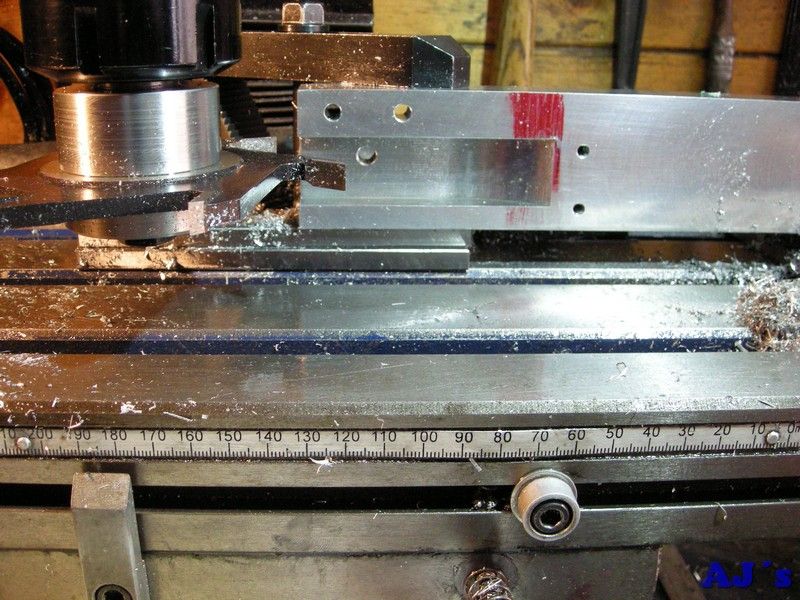
The side and face cutter was used to finish the cutout for the crank and conrod.  As the cutter has only a few teeth this was very slooow going.


With everything assembled the bearing posts was first drilled and taped for lubricators.
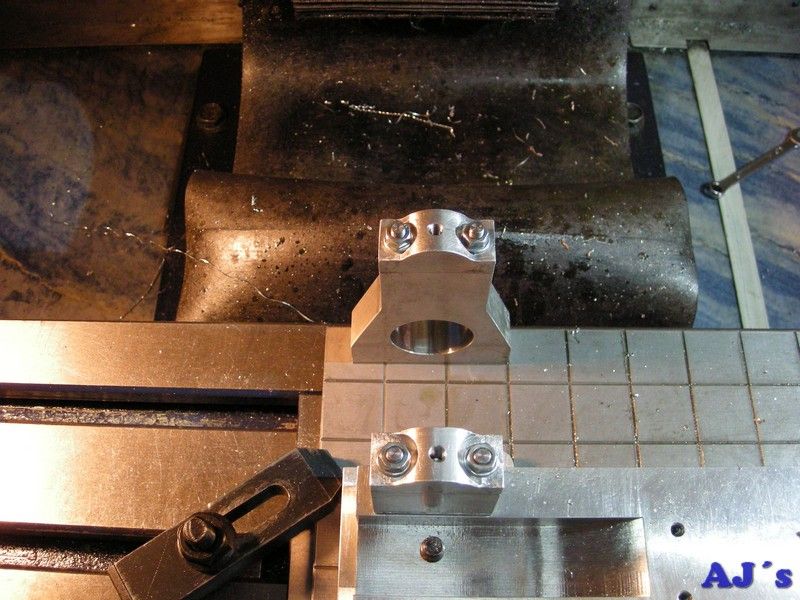


The assembly was then mounted on its side for boring the bearings.
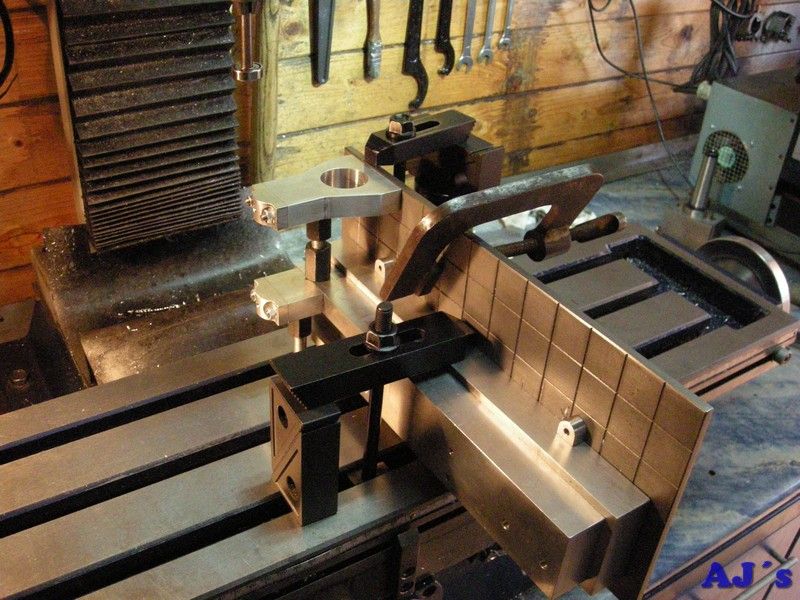


Had to use one of my lathe boring bars to reach down both bearings.
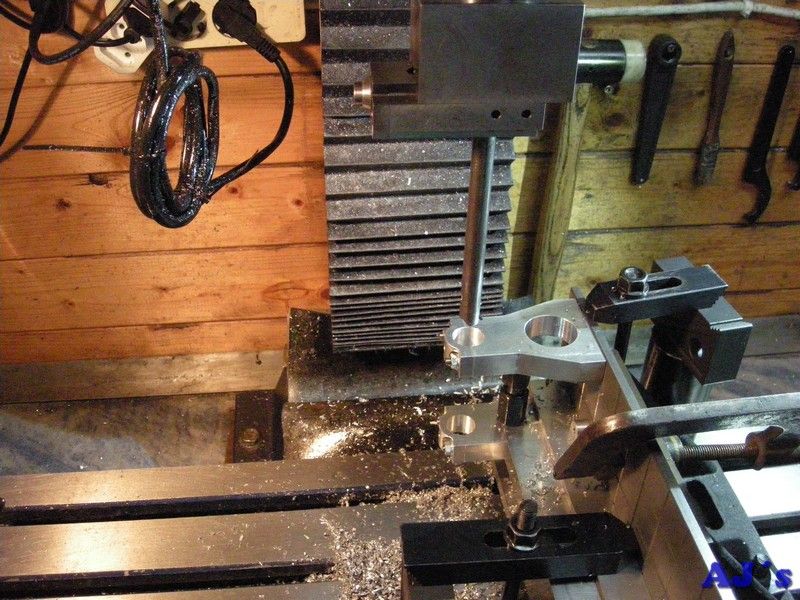


With the bushes and a few bits added.
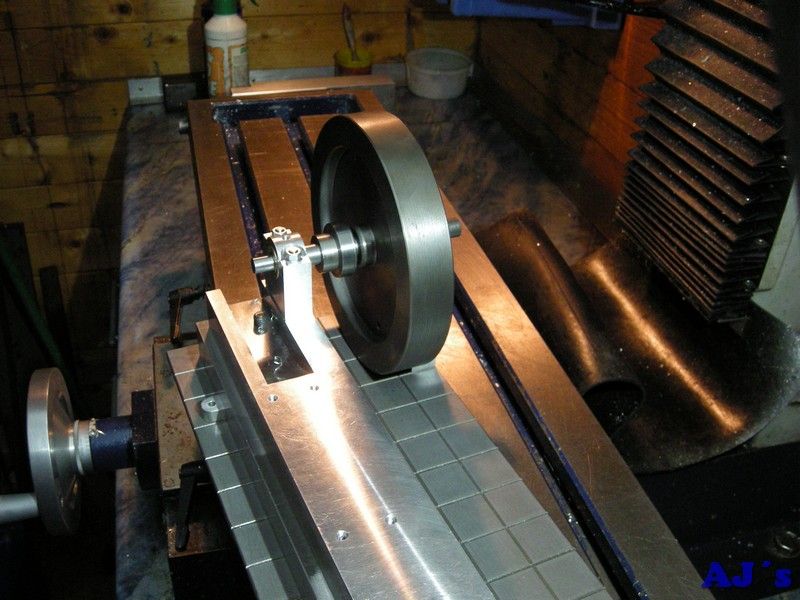


I did not like the fit of the bushes so they were remade.


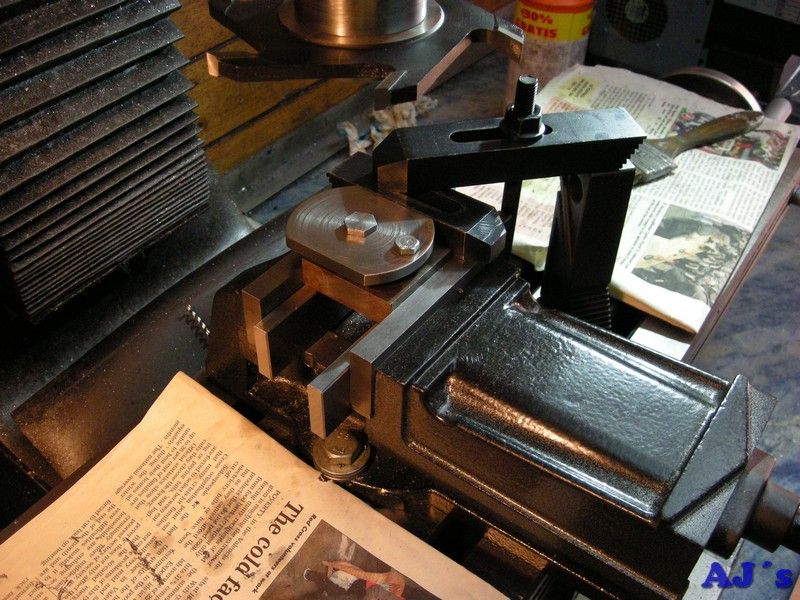
With the help of a fixture the crank web was mounted on the mill.


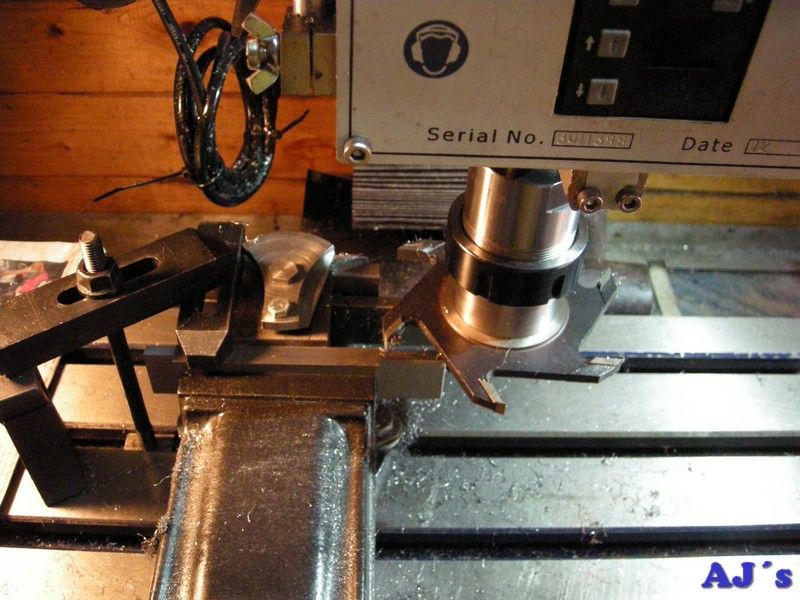
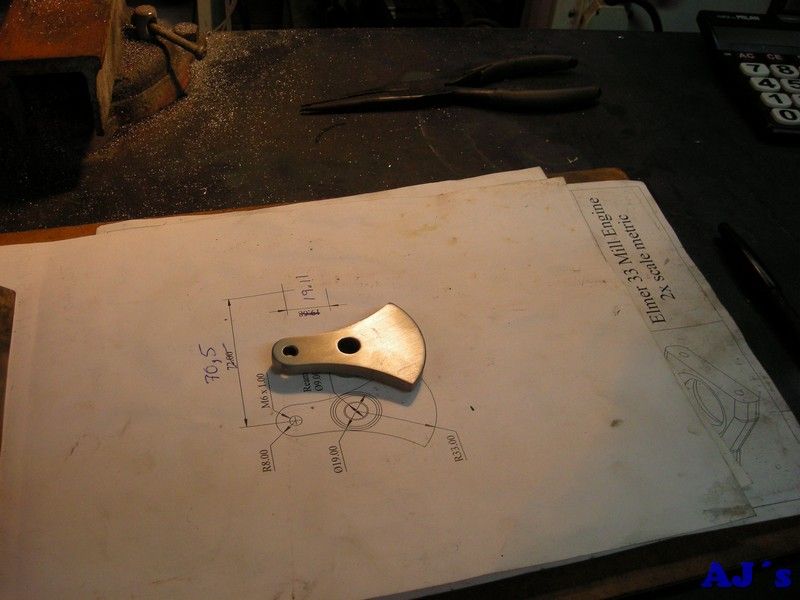
The side and face cutter was then used to cut the curves on the crank.  Can anyone notice something odd in this picture?


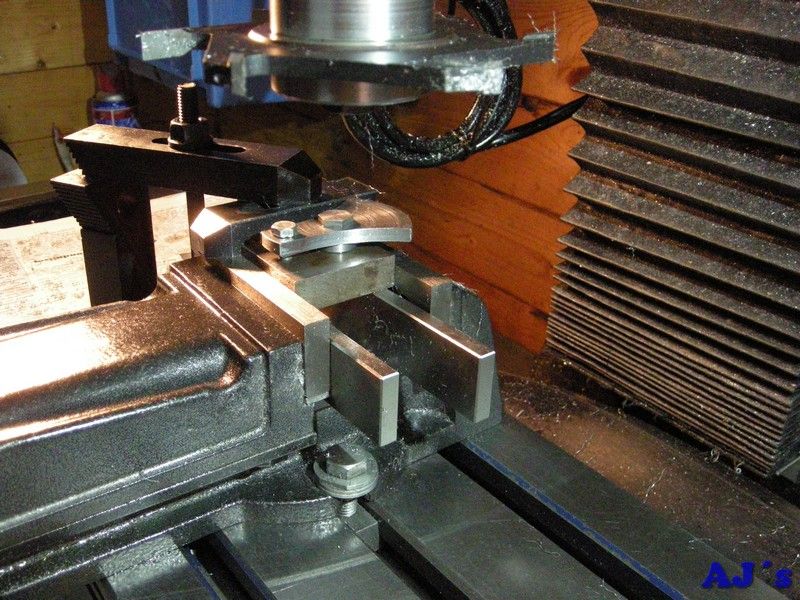
The cutter was mounted other way around and the mill ran in reverse to get a better cut.


Hot off the mill.
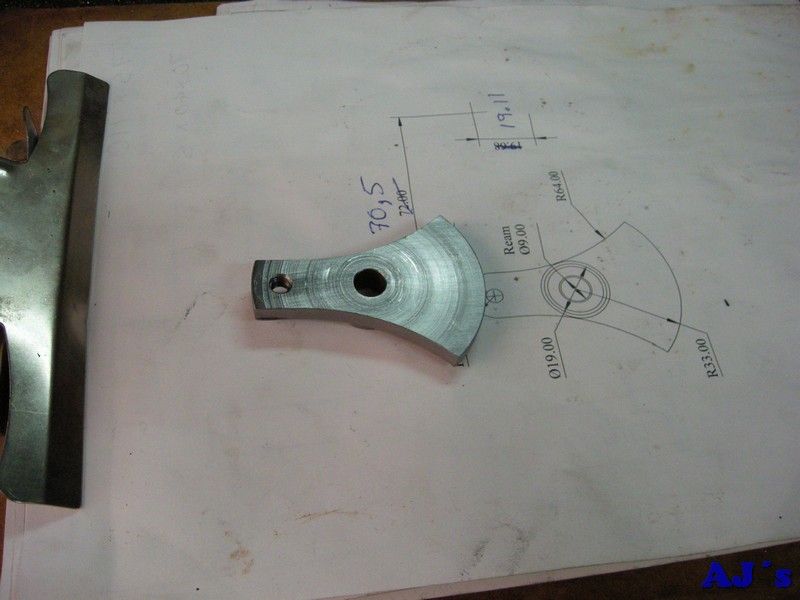


After filling the end and a bit of a cleanup.


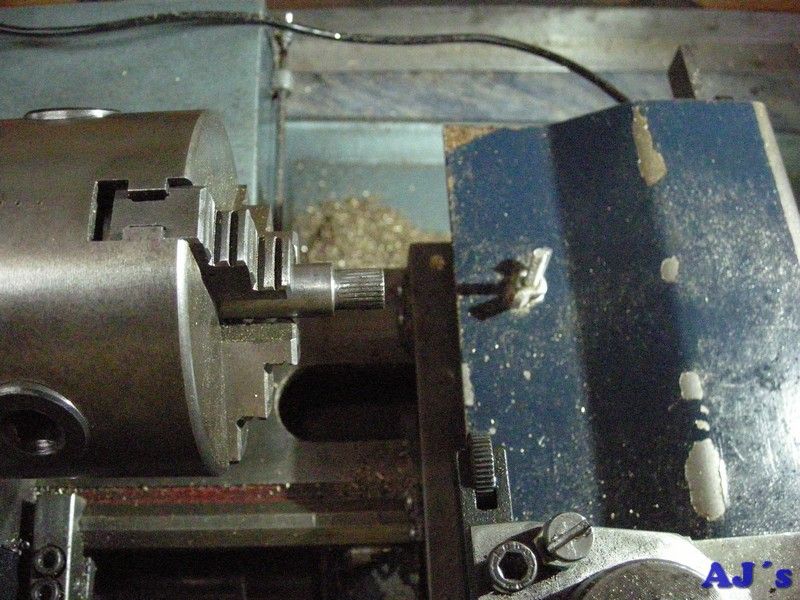
The end of the crankshaft was given a light knurl.


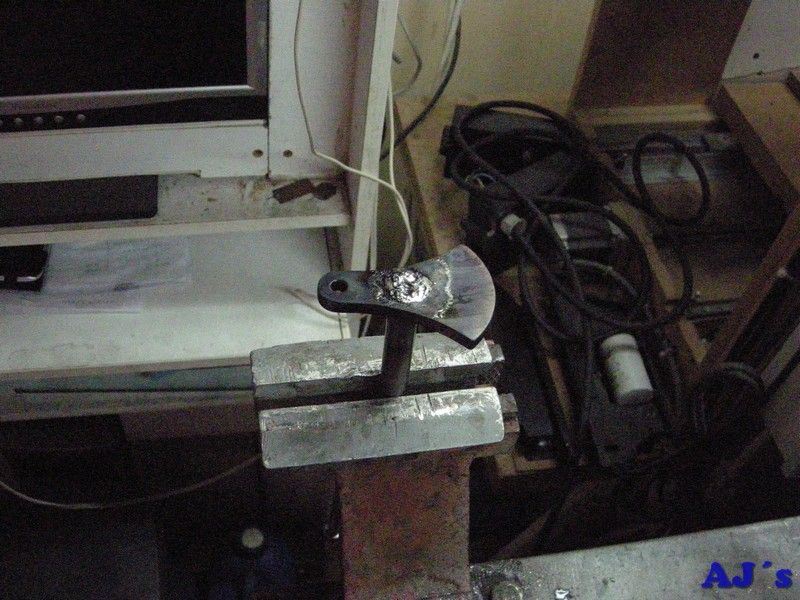
The crank was pressed on and tin soldered.


Cleaned up.
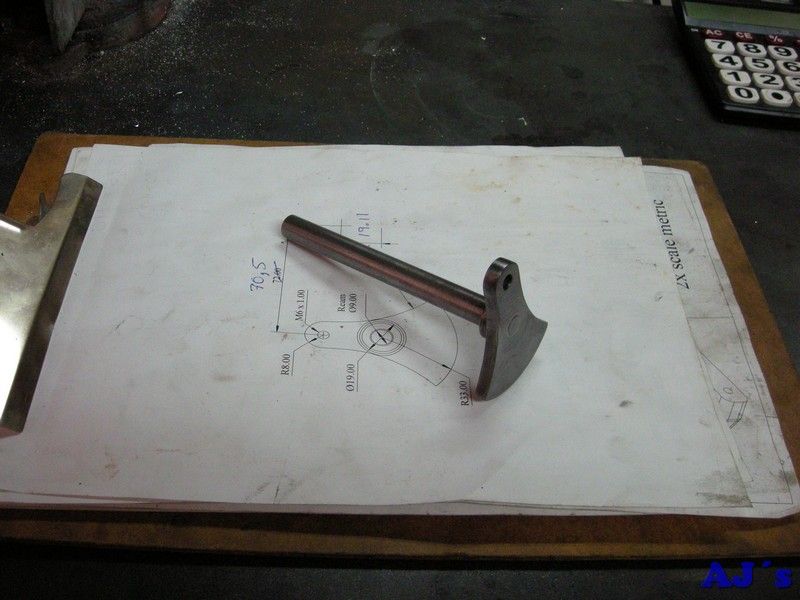


Cheers  :beer:
Abraham

Offline Topos

  • Jr. Member
  • **
  • Posts: 41
Re: Elmer's horizontal mill engine.
« Reply #42 on: May 03, 2015, 10:12:48 AM »
Astounding!

Your generosity in showing successive steps served as
the equivalent of attending a master class in machining.

Admire your talent. Shall try to emulate some of the clever
set ups that will be used in a project.

Thank you, Sir!

Offline modeldozer

  • Sr. Member
  • ****
  • Posts: 299
  • Country: es
  • Valencia, Spain
    • AJ´s Truckmodeling
Re: Elmer's horizontal mill engine.
« Reply #43 on: May 03, 2015, 11:17:53 AM »
Hi Topos,

Thank you for the kind words..  I learned a lot from others in forum posts.

Cheers
Abraham

Offline modeldozer

  • Sr. Member
  • ****
  • Posts: 299
  • Country: es
  • Valencia, Spain
    • AJ´s Truckmodeling
Re: Elmer's horizontal mill engine.
« Reply #44 on: May 03, 2015, 01:20:43 PM »
And the saga continues.
A couple of 5mm plate strips were machined square and to size.


They were setup together and drilled,


to form the top bars of the crosshead.


Two pieces of calibrated bar was milled to size for the bottom parts of the crosshead.  This took a bit of time, as the only material I had was 30 x 15mm and the parts are 22.5 x 9mm.


Mounting holes drilled.


Setup on the mill to machine the cutouts.


A temporary end stop was set to get the other part located.


Both parts done.


4 studs were made.


All the parts for the crosshead.


And fitted.


Cheers
Abraham

Offline DavidA

  • Hero Member
  • *****
  • Posts: 1219
  • Country: gb
Re: Elmer's horizontal mill engine.
« Reply #45 on: May 03, 2015, 03:41:25 PM »

...Two pieces of calibrated bar was milled to size for the bottom parts of the crosshead. ..

What's a calibrated bar ?

Dave

Offline modeldozer

  • Sr. Member
  • ****
  • Posts: 299
  • Country: es
  • Valencia, Spain
    • AJ´s Truckmodeling
Re: Elmer's horizontal mill engine.
« Reply #46 on: May 03, 2015, 05:10:55 PM »
Hi Dave,

Now you mention it I am actualy not sure of the correct english term, just directly translated the Spanish.  It is a bright mild steel manufactured to closer tolaraces than normal cold roled and has good machining properties.

Abraham

Offline DavidA

  • Hero Member
  • *****
  • Posts: 1219
  • Country: gb
Re: Elmer's horizontal mill engine.
« Reply #47 on: May 03, 2015, 05:19:47 PM »
Abraham,

I'll settle for BMS  Bright Mild Steel as the most likely candidate.
It comes nice and square,  shiny and oily.

Dave.

Offline vtsteam

  • Global Moderator
  • Hero Member
  • *****
  • Posts: 6466
  • Country: us
  • Republic of Vermont
Re: Elmer's horizontal mill engine.
« Reply #48 on: May 03, 2015, 08:17:52 PM »
I watch for this project and read it every time. Great work Abraham!  :bow: :clap: :clap: :clap: :clap: :beer:
I love it when a Plan B comes together!
Steve
https://www.youtube.com/watch?v=4sDubB0-REg

Offline modeldozer

  • Sr. Member
  • ****
  • Posts: 299
  • Country: es
  • Valencia, Spain
    • AJ´s Truckmodeling
Re: Elmer's horizontal mill engine.
« Reply #49 on: May 04, 2015, 06:37:17 AM »
Dave,
  That must be it.

Steve.
   Thank you for the kind words.

 :beer:
Abraham