Author Topic: Adventures with my Unimat(s)  (Read 23979 times)

Offline marshon

  • Jr. Member
  • **
  • Posts: 15
  • Doh!
Adventures with my Unimat(s)
« on: May 23, 2010, 11:30:17 AM »
As a novice machinist, and unemployed at the moment, I have plenty of time .......... but very little cash.

I have been 'allocated' one (upstairs) room in the house in which to assemble my workshop, so it's 'micro' for me. In the end I want to be able to machine parts for my scale models, so a lathe, a sensitive drill, a tiny mill (of sorts) and a bench drill seemed to be the order of the day.

I doubt many will be interested, but I thought I might log my trials and tribulations in attempting to get this shop up and running.

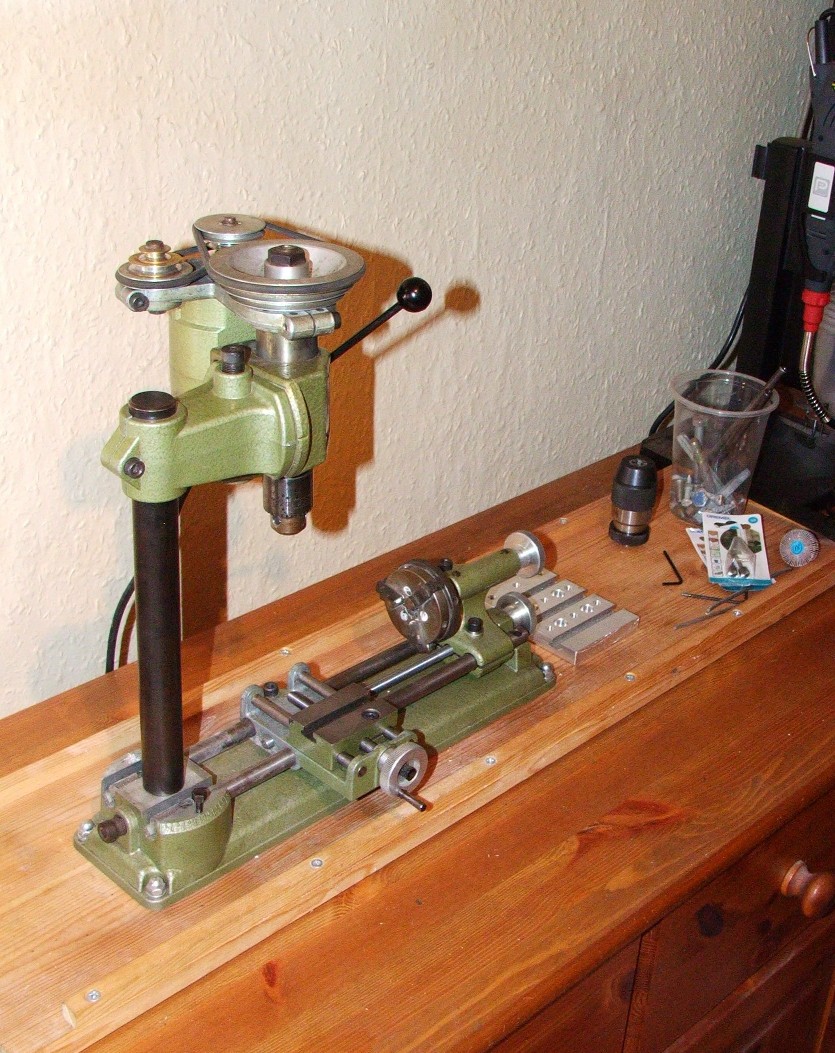
The wife (bless her), bought me a Unimat SL-1000 for my anniversary a couple of years ago. She paid £80, and bought some carbide insert tools for it. The column was missing, the quill handle was missing, and various other parts that would have been supplied with the standard machine were also missing. Nevertheless the basic machine was all there and after a clean up, I used it on the kitchen table and to my surprise everything was accurate and I could get +- 0.001" in brass. Cool.


The machine was made in 1967/8 so its the better part of 40 years old ....... finding parts has proved to be a f*cking nightmare and the charges in the UK for them are extortionate, when you can find them. It has actually worked out cheaper to order them off a gunsmith in the states and have them shipped over! Way to go Randy you are a life saver.
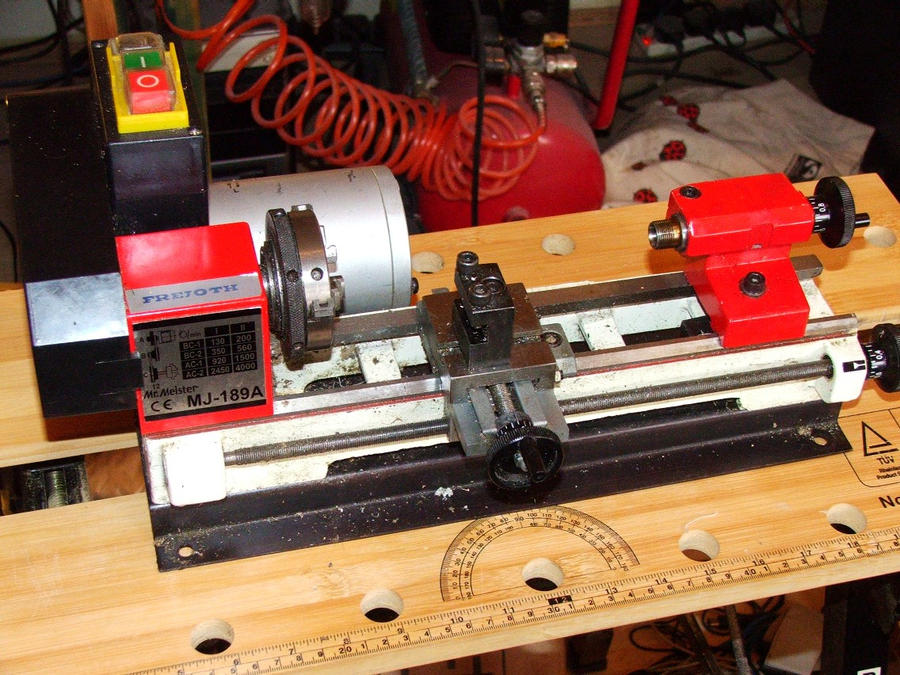
So I bought a 'Unimat 4' for £82.00 off ebay, the parts for this are readily available, and although it's a far eastern import and not a patch on the engineering of the Austrian ones, with careful setting up and adjustment it is on song.


I have a number of rotary tools (Dremel type), and I had made some mounts for them to use for odds and ends of work, but I needed the bench drill. No money meant trying to find summat cheap. I got one that was destined for the scrap heap and gave the guy a fiver for it. The English Electric 1/4 HP motor was worth that on it's own, so I think it was a bargain. However it was covered in sh*t and I thought it probably would draw circles instead of holes. I decided to do a refurbishment job on it.

So to the tribulations .......

I have learnt very quickly that my hand cut threads are crap. They are ALL out by a number of degrees, so some kind of giude for the taps and dies was needed. The two little lathes have no thread cutting ability, so something simple was required. The problem is that the distances between centres are very small, 5 or 6 inches at best. This means that the largest drill bit I can physically get into the lathes is 9mm (the chucks will take 10mm but it wont fit between centres). I could go looking for bigger drill bits that have a 10mm shank and are short reach, but they cost money and I don't have any......

So why oh why (Chronos and RDG) do you sell a boring tool listed as available for Unimat lathes, when it requires a starting hole 15mm in diameter??!! I could have bought a Glantz (lovely) but £13.50 is a lot when your on the dole, especially when you just forked out £5.75 on a Sorba that won't fit the largest hole that can be drilled on the bloody machines!

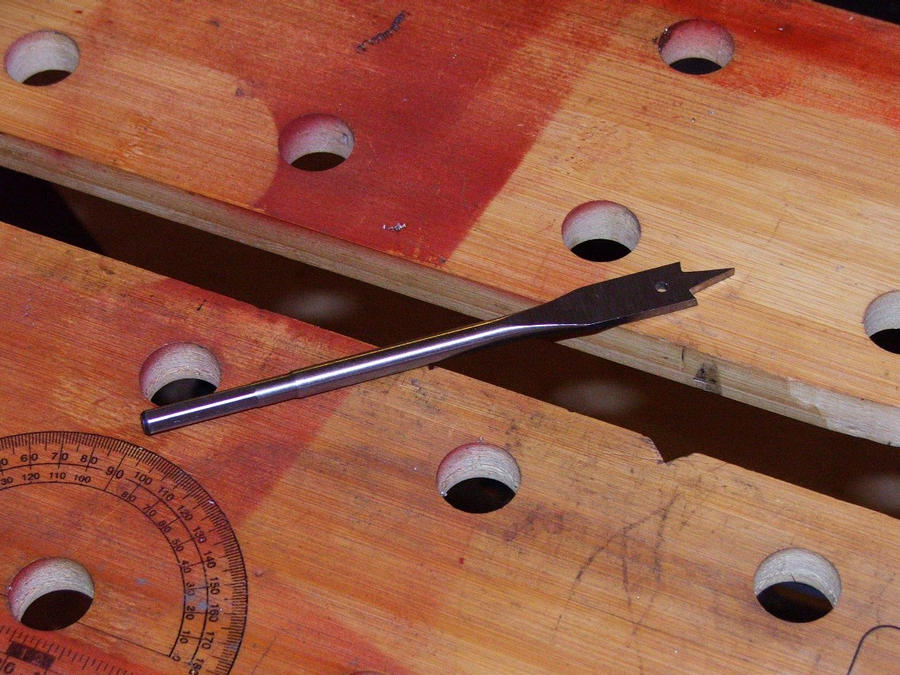
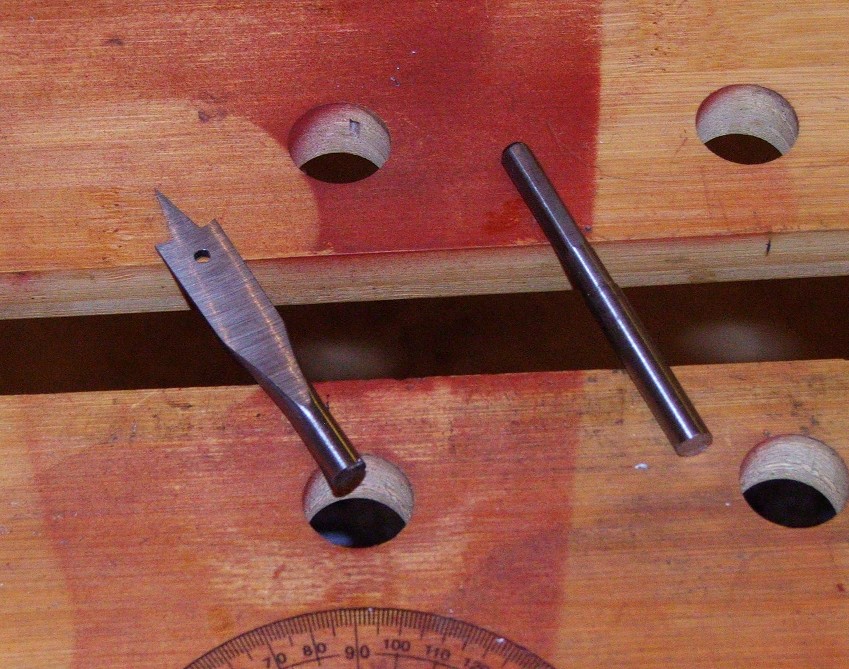
So, without any knowledge or experience I have had to hand grind a boring tool using just the Dremels and some tiny grinding wheels. I used an old woodworking drill bit since it was made of tool steel. If it works I'll eat my hat.

End of the first lesson .....


Offline marshon

  • Jr. Member
  • **
  • Posts: 15
  • Doh!
Re: Adventures with my Unimat(s)
« Reply #1 on: May 23, 2010, 04:52:53 PM »
Well, I've eaten my Fedora, the damn boring bar worked above all my expectations! No-one told me of the satisfaction you can get from making a tool that actually works! Lovely swirly swarf and no squealing or chatter, at least I'm more confident of making my own tooling in future.

Anyway, back to the tap guide for the Unimats. Here's what I had to work with, a bit of scrap aluminium bar (luckily for me it had a machine cut 8mm thread already in one end), an 8mm shouldered bolt and two cheap far eastern tap holders.


I took a hacksaw to the ally, then faced both ends and skimmed the outside to give it a shine. The bolt also got the hacksaw treatment and faced off.


Then used my super duper new boring bar to open up the hole from 7.5mm to a 12mm light sliding fit


Finally assembled the bits, it needs another cross drilling for the small tommy bar, but there's enough meat in the body for that.


Fits both Unimats and the drill press too. Cool

Offline John Hill

  • The Artful Bodger
  • Madmodder Committee
  • Hero Member
  • *****
  • Posts: 2016
  • Country: nz
Re: Adventures with my Unimat(s)
« Reply #2 on: May 23, 2010, 05:22:00 PM »
Hi Marshon,  this is a very interesting topic and I am enjoying it immensly! :thumbup:

I use those wood boring bits for aluminium too and they work quite well for that purpose. 

Unfortunately I have never managed to get any use out of those Asian tap holders, perhaps I am not mounting the tap properly. :scratch:

John
From the den of The Artful Bodger

Offline andyf

  • In Memoriam
  • Hero Member
  • *****
  • Posts: 1795
  • Country: gb
    • The Warco WM180 Lathe - Modifications
Re: Adventures with my Unimat(s)
« Reply #3 on: May 23, 2010, 06:47:03 PM »
Hi Marshon,
 :clap: :clap: for the ingenuity!

As well as drills, spare Allen keys can be ground up into serviceable boring tools for the softer metals. But avoid the crappy ones like those Ikea include with their flatpack furniture.

I have more trouble with dies than with taps when threading freehand; when beginning the thread, it seems harder to keep the handles of a diestock at right angles to the workpiece than it is to keep a tap in line.

One thing you might try with dies is what I did before making a proper tailstock dieholder. Turn down a bit of scrap so that one end will fit in your tailstock, and the other end (which needs to be faced) will enter the diestock from the rear and press on the back of the die. With the workpiece held in a chuck on the spindle, use one hand to rotate the chuck, and the other to simultaneously wind out the tailstock ram and push on the back of the die. This is easier than it sounds, and  will keep the die square on to the workpiece as you start the thread. Of course, after a few revolutions, the workpiece will want to protrude from the back of the die and collide with the "pusher", but at that stage the die will probably keep itself straight if you retract the pusher and continue. Alternatively, a hole can be drilled in the outer end of the pusher, to swallow the newly threaded work as it emerges from the die.

Andy


Sale, Cheshire
I've cut the end off it twice, but it's still too short

Offline marshon

  • Jr. Member
  • **
  • Posts: 15
  • Doh!
Re: Adventures with my Unimat(s)
« Reply #4 on: May 23, 2010, 08:48:10 PM »
Thanks for that Andy, I may give it a try as a temporary measure. A tailstock die holder is in the pipeline, I just need to find some scrap ally of a big enough diameter, say 1 1/2", I also have to work out how to design it so that it will be short whilst still holding perpendicular.

Simon


Hi Marshon,
 :clap: :clap: for the ingenuity!

As well as drills, spare Allen keys can be ground up into serviceable boring tools for the softer metals. But avoid the crappy ones like those Ikea include with their flatpack furniture.

I have more trouble with dies than with taps when threading freehand; when beginning the thread, it seems harder to keep the handles of a diestock at right angles to the workpiece than it is to keep a tap in line.

One thing you might try with dies is what I did before making a proper tailstock dieholder. Turn down a bit of scrap so that one end will fit in your tailstock, and the other end (which needs to be faced) will enter the diestock from the rear and press on the back of the die. With the workpiece held in a chuck on the spindle, use one hand to rotate the chuck, and the other to simultaneously wind out the tailstock ram and push on the back of the die. This is easier than it sounds, and  will keep the die square on to the workpiece as you start the thread. Of course, after a few revolutions, the workpiece will want to protrude from the back of the die and collide with the "pusher", but at that stage the die will probably keep itself straight if you retract the pusher and continue. Alternatively, a hole can be drilled in the outer end of the pusher, to swallow the newly threaded work as it emerges from the die.

Andy


Offline Stilldrillin

  • Global Moderator
  • Hero Member
  • *****
  • Posts: 4972
  • Country: gb
  • Staveley, Derbyshire. England.
Re: Adventures with my Unimat(s)
« Reply #5 on: May 24, 2010, 03:39:54 AM »
Simon,

Top marks for ingenuity!  :thumbup:

You`re on your way, and going well......  :clap: :clap:

David D
David.

Still drilling holes... Sometimes, in the right place!

Still modifying bits of metal... Occasionally, making an improvement!

Offline fluxcored

  • Jr. Member
  • **
  • Posts: 73
Re: Adventures with my Unimat(s)
« Reply #6 on: May 24, 2010, 04:11:07 AM »
Hi Marshon,

I'm as financially challenged as you and out of necessity have to make my own tooling. I also just recently made my own boring bar and was surprised that it even worked. I'm glad you shared the woodworking drill bit idea - I've got a few lying around.

I branched out into forging and foundry work and although my setup's very primitive and skill limited, I'm saving tons of money forging and casting my own tools out of scrap.

I have to agree with John - on my first venture into the world of tapping I bought a Chinese tap holder - triple checking, it's the correct size - darn thing just never worked as it should and I've never used it since.

I'd like to see your results when you drill the hole for the tommy bar. I suck big time at drilling holes through round stock. The exit hole's always off centre.

I do like the finish that you're getting.

Keep on posting - I hope to learn a lot from you!!

Regards,

Cassidy
"Living is a dangerous occupation. Just look at all the dead people out there." - Thomas Lipton

Offline marshon

  • Jr. Member
  • **
  • Posts: 15
  • Doh!
Re: Adventures with my Unimat(s)
« Reply #7 on: May 24, 2010, 07:11:28 AM »
I finished the tap guide this morning ........ and found the first SERIOUS design flaw in the Unimat SL/DB


I fitted the lathe chuck to the tailstock and locked it up, then used the drill head and column to cross drill the barrel.

Now, as far as I am concerned, two of the most fundamental things when vertical drilling/milling are centre and edge finding. Well Unimat have dropped a bollock on this one. The quill travel is a shade under and inch. That's fine, it's a micro machine after all and most of the time I won't be drilling through more than that distance. However, my homemade centre and edge finders are quite short, whilst my drill bits are standard sizes. So you have to drop the head down the column to find centre, then blow me if you don't have to move the head back up to fit the drill bit. This would be OK except that there's no index on the headstock, the column or the quill so no way to precisely re-align the bit to the centre you just found! The column clamp is just that .... a clamp.

At some stage I will have to index mark the column and the headstock to align centre with the ways. After that it is simple to adjust the settings using the x - y travel of the carriage and cross slide. I messed about for ages getting the bloody thing to centre, I had to jury rig a longer centre finder in the end. OK for this job but hopeless for a range of bit lengths.
Also, there is no fine feed graduated adjustment of the quill. Slot milling should prove interesting when trying to take a number of precise cuts. Ho hum.

Isn't it always the way? The tool you are making is the tool you need to make the tool you are making? All this effort could have been avoided if the drill press was finished, but the parts I am making (including the tap guide) are to finish off the drill press! Here is the replacement jockey wheel assembly ( the wheels need to be bigger, I have materials on order). All made up on the Unimat SL with straight threads (yippee!) cut using the tap guide.


Offline raynerd

  • Madmodder Committee
  • Hero Member
  • *****
  • Posts: 2893
  • Country: gb
    • Raynerds Projects - Raynerd.co.uk
Re: Adventures with my Unimat(s)
« Reply #8 on: May 24, 2010, 08:18:59 AM »
Nice work Marshon, I have a habbit of setting out with good intentions to make my own tooling and then find myself buying the bits I need when I nip to tool shops and such. However the odd time I have had to make or improvise tooling out of necessity, I`ve often been supprised with how well it works...

I use to have a small Unimat 3 many years ago which was a lovely machine and would love to buy one back for myself one of these days.

Offline andyf

  • In Memoriam
  • Hero Member
  • *****
  • Posts: 1795
  • Country: gb
    • The Warco WM180 Lathe - Modifications
Re: Adventures with my Unimat(s)
« Reply #9 on: May 24, 2010, 08:44:15 AM »
..... I finished the tap guide this morning ........ and found the first SERIOUS design flaw in the Unimat SL/DB

However, my homemade centre and edge finders are quite short, whilst my drill bits are standard sizes. So you have to drop the head down the column to find centre, then blow me if you don't have to move the head back up to fit the drill bit. This would be OK except that there's no index on the headstock, the column or the quill so no way to precisely re-align the bit to the centre you just found! The column clamp is just that .... a clamp.


Hi Marshon,

I run into similar problems on my round column mill, though I have more quill travel to play with, so I try to think ahead about relative tool lengths when (for example) starting a hole with a centre drill, then following up with a much longer regular one.

One trick is to buy a cheap laser (the pound shops sell them in a housing with a spirit level bubble of dubious accuracy), and attach it to the drilling head shown in your first photo so that it shines on the furthest wall from your machine. You are making the longest pointer you can, so it might be possible to open the door and point it across the landing. Draw a vertical line on the wall, and when you have found centre, move your whole machine round so the laser dot is on the line. Then change tools without pushing the machine out of position (might be hard, with it being so light in weight) and reclamp so that the dot is again on the line. As the line is verical, your column needs to be vertical, too.

Andy
Sale, Cheshire
I've cut the end off it twice, but it's still too short

Offline madjackghengis

  • Hero Member
  • *****
  • Posts: 717
  • big engine
Re: Adventures with my Unimat(s)
« Reply #10 on: May 24, 2010, 09:32:35 AM »
Hi Marshon,  I started out with almost no machinery at all as well, and did it while serving on active duty in the Marine Corps, and found that the best way to get forward, is to find books from the turn of the last century, when an apprentice was expected to make all his own tools as part of his education, and with the lathe as "the mother of all machine tools", make everything either in a vise, or in the lathe.  There is very little to be done as a machinist that you don't have the tooling to do right now, it's just a matter of knowing how to apply it, and those old books, look for "Lindsey publishing company", will teach you ways around corners you didn't know existed.  I was going to suggest the laser idea, but someone gave it to you first, I will say, it is easier to hand a plumb line where the laser shines, than to move the whole ball of wax to match a drawn line, and the wife will appreciate no new lines on the wall, just make sure your lathe is level and the column perpendicular.  I used that method for years to bore engine cases on a mill/drill.  I am particularly envious of you, because I would have given up eye teeth to have that unimat, back when I got started in this game which is now my life.  It has the potential to make everything you are missing and need for it, and it is a "real" machine tool, unlike lots of what is available today.  Yard sales are good sources of tooling, brand names are invaluable, like you note about the allen keys, and tool steel is tool steel, no matter what shape or size it currently resides in, just because the manufacturer wanted you to use it as a screwdriver doesn't mean it isn't good steel for a turning tool.  If you really want to know the capacity of your unimat, get a set of Dave Gingery's books on casting and building a machine shop, you may not do all the casting and such, but in reading it, you will see how to use that lathe to make everything else.  Machinists were working to the thousandth long before anyone put a dial on a lathe, or even a cross slide, it is all about technique, and artful thinking.  You are entering the field where anything can be done, at a time when there is more parts and tooling on the market than ever before, enjoy it like a bazarre and make one of everything you want, at least.  :thumbup: :thumbup: mad jack

Offline cidrontmg

  • Full Member
  • ***
  • Posts: 229
  • Country: pt
Re: Adventures with my Unimat(s)
« Reply #11 on: May 24, 2010, 06:30:21 PM »
Hi Marshon, my first lathe/drill/mill was also a Unimat SL, bought new some 40 years ago, and I´m still sometimes mad at myself for selling it in a temporary shortage of funds, and practically for a song  :( If you´ve seen what Unimat SL´s fetch even now in ebay (ebay.de in particular), you´ll cherish it even more. And if you get a chance to see "The Shop Wisdom of Rudy Kouhoupt", parts 1 and 2, you´ll be amazed at what the little machine is capable of, in skillful hands.
And to mad jack - for someone who describes himself as "mad", you sure make a lot of sense to me  :wave:
Olli
Penafiel
Portugal

Offline mklotz

  • Sr. Member
  • ****
  • Posts: 260
  • Country: us
  • LA, CA, USA
    • Software For People Who Build Things
Re: Adventures with my Unimat(s)
« Reply #12 on: May 24, 2010, 07:38:31 PM »
I have the same Unimat and encountered the same problem - having to raise the head to get clearance to change a drill and thereby losing my reference position.

I partially solved the problem by loading and unloading drills through the back of the Unimat headstock spindle.  By fully opening the drill chuck it's possible to drop a drill into the (vertical) spindle and have it pop out in drilling position.  Just tighten the chuck and away you go.

To extract the drill (in order to mount a larger drill or tap), I made an "extractor".  It's a long brass rod with a diameter slightly smaller than the Unimat spindle bore.  A hole in the end of the rod contains a small neodymium magnet held in place with glue.  Slide the rod into the spindle until it attaches itself to the back end of the drill, loosen chuck and withdraw drill through back of spindle.
Regards, Marv

Home Shop Freeware
https://www.myvirtualnetwork.com/mklotz

Offline marshon

  • Jr. Member
  • **
  • Posts: 15
  • Doh!
Re: Adventures with my Unimat(s)
« Reply #13 on: May 24, 2010, 11:48:59 PM »
Wow!

What a nice set of responses! It would seem that, like me, a few of you have grown to like these little machines.
I do have an ever growing respect for their capabilities, which are currently beyond mine.

Thanks for the laser pointer idea, that sounds like a workable solution to the head movement problem, and another little project for the future.
I would obviously like to assemble all the original attachments and accessories for both machines, and maybe over time I will, but for now I'd just like to get the SL/DB back to 'as supplied' from the factory and go from there.

One thing I would like to get is a four jaw independent chuck for one of them so I can chuck square or odd shaped parts, but again it's a case of needs must financially at the moment. My priority is to finish the drill project.

...... and to Jack, yep I fully agree. When I did my apprenticeship, many moons ago and as a Lithographer not an engineer, I often marvelled at the skill of the engineering apprentices who made all kinds of stuff with just a saw a vice some files and a scraper. Plus a lot of elbow grease.
Somewhere my father has a set of 'Newnes Complete Engineer' - he was a skilled marine steam engineer and last of his trade, I may try to borrow them off him.

Once I get the drill finished I'll post some pictures.


Offline madjackghengis

  • Hero Member
  • *****
  • Posts: 717
  • big engine
Re: Adventures with my Unimat(s)
« Reply #14 on: May 25, 2010, 11:52:40 AM »
Hi Marshon, my first lathe/drill/mill was also a Unimat SL, bought new some 40 years ago, and I´m still sometimes mad at myself for selling it in a temporary shortage of funds, and practically for a song  :( If you´ve seen what Unimat SL´s fetch even now in ebay (ebay.de in particular), you´ll cherish it even more. And if you get a chance to see "The Shop Wisdom of Rudy Kouhoupt", parts 1 and 2, you´ll be amazed at what the little machine is capable of, in skillful hands.
And to mad jack - for someone who describes himself as "mad", you sure make a lot of sense to me  :wave:
For Cidron, when I was in the Marines, I was "Mad Jack, the Irishman, out in the noonday sun", because I tended to run ten to twelve miles at a time and the noon day sun in North Carolina can be a bit hot, especially in the swamp.  I didn't mind, it helped with keeping discipline among my Marines.  I have to agree with all those who have posted regarding their desire for an SL unimat, I'd trade one of my Logan ten inchers for the setup shown.  Looks like you're making it along, and slowly getting your tooling together, there will always be another piece you need though.  mad jack

Offline sportandmiah

  • Jr. Member
  • **
  • Posts: 17
Re: Adventures with my Unimat(s)
« Reply #15 on: May 29, 2010, 02:22:41 AM »
I too work with small machinery. I shopped the better part of a year for a Unimat but ultimately saved a little longer and bought a Sherline lathe.  I recently bought the milling column, making my Sherline just like your Unimat. Both are amazing little machines, and wonderfully accurate. And there is no better satisfaction than making your own tools. I find myself making tools that I probably don't need, but I have the material and enjoy the process.I look forward to reading your thread.