Author Topic: Harrison L5 rescue  (Read 132785 times)

Offline Manxmodder

  • Hero Member
  • *****
  • Posts: 739
  • Country: gb
Re: Harrison L5 rescue
« Reply #175 on: February 20, 2014, 01:30:52 PM »
Cheers for that John,I'll measure up later and come back with the actual size.

The one on my Harrison has suffered from some brute bashing the face of it with a chuck key or similar implement,but these lathes have mostly been ex college training machines so nothing surprises me regarding the mindless damage often seen......OZ.
Helixes aren't always downward spirals,sometimes they're screwed up

Offline Manxmodder

  • Hero Member
  • *****
  • Posts: 739
  • Country: gb
Re: Harrison L5 rescue
« Reply #176 on: February 21, 2014, 08:53:09 PM »
Hi John, the diameter of the recess in the plunger head measures 37.55mm,so 37.5mm would be safe.

I wonder if Mick has a dimension for the plunger on his L5, I can't imagine it being different.

Having said that,we are dealing with Harrison machines here so anything is possible :Doh:
....OZ.
Helixes aren't always downward spirals,sometimes they're screwed up

Offline John Stevenson

  • In Memoriam
  • Hero Member
  • *****
  • Posts: 1643
  • Nottingham, England.
Re: Harrison L5 rescue
« Reply #177 on: February 22, 2014, 06:03:38 AM »
Mick has 38mm for his and I now have decent photo's of the plates.
John Stevenson

Offline Manxmodder

  • Hero Member
  • *****
  • Posts: 739
  • Country: gb
Re: Harrison L5 rescue
« Reply #178 on: February 22, 2014, 10:04:35 AM »
Very good John,if 38mm is the only option available I'll work around that.
whatever size Mick needs for his L5 has priority here.

Cheers, OZ. 
Helixes aren't always downward spirals,sometimes they're screwed up

Offline Manxmodder

  • Hero Member
  • *****
  • Posts: 739
  • Country: gb
Re: Harrison L5 rescue
« Reply #179 on: February 22, 2014, 11:46:55 AM »
Just a thought,some printers have a facility to print a design directly onto the front face of a CD.
I'm just wondering if it would be feasible to put a piece of brass into the CD print tray and print the etch resist directly onto the brass and then drop it into a ferric chloride bath....OZ.
 
Helixes aren't always downward spirals,sometimes they're screwed up

lordedmond

  • Guest
Re: Harrison L5 rescue
« Reply #180 on: February 22, 2014, 01:13:11 PM »
Yes but they do not print in the centre 30 mm

Stuart

Offline tom osselton

  • Hero Member
  • *****
  • Posts: 1256
  • Country: ca
Re: Harrison L5 rescue
« Reply #181 on: February 22, 2014, 01:57:59 PM »
How about 3d printing it then casting in bronze?

Offline John Stevenson

  • In Memoriam
  • Hero Member
  • *****
  • Posts: 1643
  • Nottingham, England.
Re: Harrison L5 rescue
« Reply #182 on: February 22, 2014, 03:33:13 PM »
That would work well Tom if the lettering was a decent size.
Some of these letter will be about 2mm high so the detail in 3D printing will be crap.

It's not that hard to do as by some means you need the master. Long Short in the absence of anything decent it has to be drawn.

Once you have the drawing you can do the print - iron on - ferric chloride dip etc

Or just sent the file to the engraver and sod off down the pub.

Me ? No contest...........
John Stevenson

Offline stig

  • Jr. Member
  • **
  • Posts: 23
  • Country: england
    • EXUP1000
Re: Harrison L5 rescue
« Reply #183 on: February 22, 2014, 05:58:24 PM »
Yes but they do not print in the centre 30 mm

Stuart

The program i use has the facility to alter the internal diameter of the centre hole. If the program is set to a small diameter it will allow approx 45mm to the edge of the CD. It would be possible to drop the brass cd in the tray and still have enough area to print several 38mm labels equally spaced around the edges of the central hole. You could then etch and cut to size

hope this helps

BTW, thanks Mick for the help/advice on the L5. Keep up the great work. look forward to seeing it completed  :wave:
Getting new-used tools to use to make tools to mend tools that you got to mend other ones surely counts as fair game

Offline Manxmodder

  • Hero Member
  • *****
  • Posts: 739
  • Country: gb
Re: Harrison L5 rescue
« Reply #184 on: February 22, 2014, 07:32:30 PM »
Thanks for that Stig,I was wondering if the dimension of the unprinted centre area could be altered.

Also thanks John for sending me a copy of the artwork in file format,I'll show you the resulting outcome when I decide which method of creating the resist mask I'm going to use.

Cheers,OZ.
Helixes aren't always downward spirals,sometimes they're screwed up

Offline John Stevenson

  • In Memoriam
  • Hero Member
  • *****
  • Posts: 1643
  • Nottingham, England.
Re: Harrison L5 rescue
« Reply #185 on: February 22, 2014, 08:42:34 PM »
Had a bit of a play tonight.

Mick sent me this as a picture


Finished up with this.


Doesn't look that good as the detail isn't great to get the whole plate in shot given these letters are all under 2mm.

But if you zoom in it shows just what it *should* come out like.


My CNC router is very good on detail so it should work out OK, I'll get to it one night next week.
John Stevenson

Offline Manxmodder

  • Hero Member
  • *****
  • Posts: 739
  • Country: gb
Re: Harrison L5 rescue
« Reply #186 on: February 23, 2014, 05:37:44 AM »
Very good John, this will be good to see when it's done.....OZ.
Helixes aren't always downward spirals,sometimes they're screwed up

Offline micktoon

  • Hero Member
  • *****
  • Posts: 797
  • Country: gb
Re: Harrison L5 rescue
« Reply #187 on: February 23, 2014, 06:08:55 PM »
Hi Lads a bit more done so here are the latest photos.
  John , the plate looks top class  :bow: :bow: :bow: cant wait to see the real thing
  Oz , looks like you are on a mission now too  :thumbup:
  Stig, glad I could help you out mate , life is easier when we all help each other when we can.....'spread the wealth' as Bob KRV3000 would say  :clap:

  Well I have been grinding all the castings and filling in defects with filler and getting them as good as I can before primer, this batch of stuff was all fiddly ackward bits to do and also ackward to position to paint as both sides needed doing on lots of bits etc, anyway here are the photos.

All prepared


Primed with etch primer , then primer filler.


Grey at last !


This cast alloy door has been a right pain, it had loads of old primer filler and many layers of horrible old paint on it , that would have reacted to the new paint so I have sanded it back to bare alloy cast and shot blasted around the Harrison lettering then cleaned this up with riffler files etc as I plan on painting the door and having the lettering sanded back to bare alloy.


With this in mind I have sanded away the primer on the lettering so it wont have an edge when I sand the grey back to alloy.


The Harrison headstock badge and the gear speed plate badge are getting the same sort of treatment.

As they were


Blasted off


Primed


Sanded back to shiny alloy letters


Painted red


Sanded back to alloy on the writing


I should have been happy at that but thought , why not laquer them. The Laquer melted the red and spoilt the job so I will try going over with red again, if it does not work it will be back to metal and start again !
 At least I can start to put some more bits back on again now .

Cheers Mick.

Offline bp

  • Full Member
  • ***
  • Posts: 119
Re: Harrison L5 rescue
« Reply #188 on: February 23, 2014, 11:14:46 PM »
Beautiful, patient work there Mick.
Very, very well done!!
cheers
Bill

Offline RussellT

  • Hero Member
  • *****
  • Posts: 520
  • Country: gb
Re: Harrison L5 rescue
« Reply #189 on: February 24, 2014, 07:41:43 AM »
Hi Mick

I'm always impressed by the attention to detail on your projects.  This lathe will look better than new.

Russell
Common sense is unfortunately not as common as its name suggests.

Offline stig

  • Jr. Member
  • **
  • Posts: 23
  • Country: england
    • EXUP1000
Re: Harrison L5 rescue
« Reply #190 on: February 24, 2014, 07:09:39 PM »
Mick,

I dont think i personally would be able to resist mirror polishing the Harrison detail on that door knowing its alloy  :drool: :D
You're either not into the "black snot" or you're showing some serious restraint  :poke:
Getting new-used tools to use to make tools to mend tools that you got to mend other ones surely counts as fair game

Offline Manxmodder

  • Hero Member
  • *****
  • Posts: 739
  • Country: gb
Re: Harrison L5 rescue
« Reply #191 on: February 24, 2014, 11:48:22 PM »
Hi Stig, If Mick's ally castings are anything like the ones on my Harrison L6 then the quality of the ally isn't very good and contains a lot of impurities and the castings bear the characteristics of having been cast with ally that wasn't adequately fluxed before pouring.

Having tried to polish up a couple of bits of mine I found the standard of polished finish achievable was quite dull and not very satisfactory.

Further to this I also found any areas left unpainted started to develop white salty surface corrosion deposits and even on areas that were thoroughly prepared, primed and painted corrosion in the ally is starting to lift the paint.

Mick's castings may be better quality than mine,but I generally find I have to redo my ally lathe castings about every 4 years to stop them looking tatty....OZ.
Helixes aren't always downward spirals,sometimes they're screwed up

Offline micktoon

  • Hero Member
  • *****
  • Posts: 797
  • Country: gb
Re: Harrison L5 rescue
« Reply #192 on: February 26, 2014, 06:50:58 PM »
Hi Bill, Russell, Stig and Oz thanks for the comments, I think I might have been lucky with the castings as they needed a bit filing and a sanding with a block to remove slight dips and rough areas but are ok after that.
  I ended up re sanding the badges and just re spraying red , then sanding back to alloy leaving a sort of fine brushed finish on the alloy and not laquering them this time, the headstock badge is attached with correct twist screw type rivets kindly donated by Bob KRV3000. The cabinet door was given the same treatment and looks ok , I was going to mask off a square around the Harrison letters and spray red then sand back to alloy again but I think the red might wrinkle the grey and the paint is not hard enough to mask onto yet anyway.


The other jobs I have got done dont look much but all been fiddly as the paint is not really hard for manhandling yet, I have fitted motor and brackets , the gear selectors and started with the wiring grommets etc. I have attached the inverter and also a double socket to the rear of the electrics panel, I have decided not to fit the old bulky work lamp and instead fit two Ikea flexi stalk type LED lights as Doubleboost uses, these need one socket each hence double socket, I think two should cancell out the situation of the shadow cast by one being right where you want to see. The red 3 phase type plug is so I can unplug the motor to run/ test other motors using the lath inverter and controls.


 Cheers Mick.

Offline Manxmodder

  • Hero Member
  • *****
  • Posts: 739
  • Country: gb
Re: Harrison L5 rescue
« Reply #193 on: February 26, 2014, 11:07:16 PM »
OOH baby you know what I like.  :drool: :drool: :drool:

 That is looking absolutely superb there Mick.
My L6 was hand painted with Tekaloid coach enamel in Landrover Marine Blue.
It's a few years ago now but has lasted real good on the cast iron work but I do have grief with keeping the ally parts smart due to oxides and impurities in the castings.

Next time I have to attend to the ally bits I will media blast them and then steep them in hot distilled  water to leech out some of the oxides,then etch prime and undercoat.

What type of paint did you use for this restoration job?  .....OZ.
Helixes aren't always downward spirals,sometimes they're screwed up

Offline theyoungengineer

  • Newbie
  • *
  • Posts: 1
Re: Harrison L5 rescue
« Reply #194 on: February 27, 2014, 03:16:34 PM »
looking good mick, not too much to do now  :drool:

Offline micktoon

  • Hero Member
  • *****
  • Posts: 797
  • Country: gb
Re: Harrison L5 rescue
« Reply #195 on: February 27, 2014, 05:43:21 PM »
Hi Oz that Binns & Berry lathe of mine ( pictures at the starting pages of this thread ) was navy blue hammerite with pinktype red hammerite, needless to say I had to paint ilt lol, I did it with this same paint , PM me your Email and I will forward on the info as I have already Emailed it to Andrew (awemawson) so easeir to forward it on again to you.
 Hi Bailey glad your liking the rebuild , it looks like its getting there but there is more still needs doing that it looks like as lots of the stuff left to do has various problems so all needs fixed as or before it get put back on  :palm: ...........stil its moving in the right direction anyway.
  Cheers Mick.

Offline krv3000

  • Hero Member
  • *****
  • Posts: 2183
  • Country: gb
Re: Harrison L5 rescue
« Reply #196 on: February 27, 2014, 05:53:03 PM »
i carnt wate till i start to bash it with me hammer

Offline Manxmodder

  • Hero Member
  • *****
  • Posts: 739
  • Country: gb
Re: Harrison L5 rescue
« Reply #197 on: February 27, 2014, 07:16:09 PM »
I reckon Mick will have your thumbs clamped in the vice before you get near it....OZ.
Helixes aren't always downward spirals,sometimes they're screwed up

Offline krv3000

  • Hero Member
  • *****
  • Posts: 2183
  • Country: gb
Re: Harrison L5 rescue
« Reply #198 on: March 02, 2014, 04:21:03 PM »
lol

Offline micktoon

  • Hero Member
  • *****
  • Posts: 797
  • Country: gb
Re: Harrison L5 rescue
« Reply #199 on: May 01, 2014, 07:32:28 PM »
Well at last some more progress on the lathe.
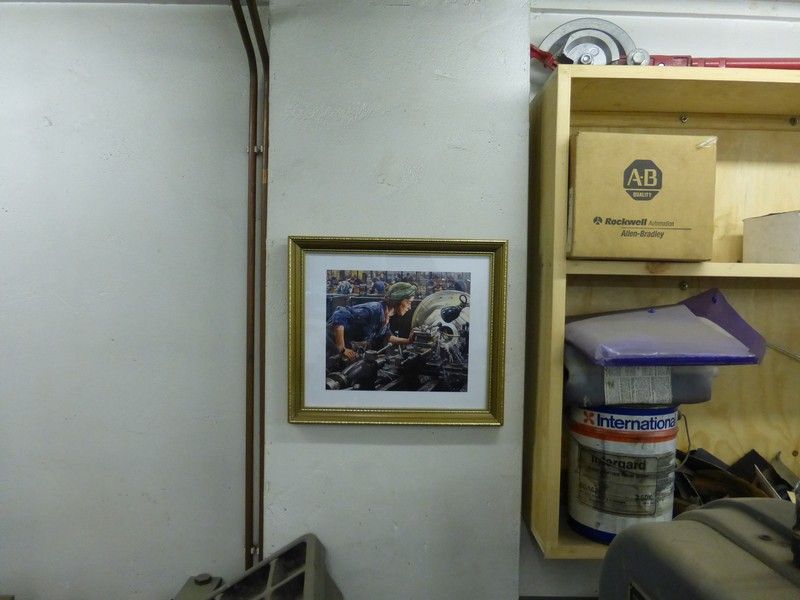
  Its been slow as every small part needs a good go over now as everything looks rough compared to the lathe now so has to be fettled before it can go back on. I have got a print for the workshop wall too. Its of a Dame Laura Knight painting dipicting a lady operating a lathe in World War 2 called Ruby Loftus screwing a breech ring , real good detail on the lathe.


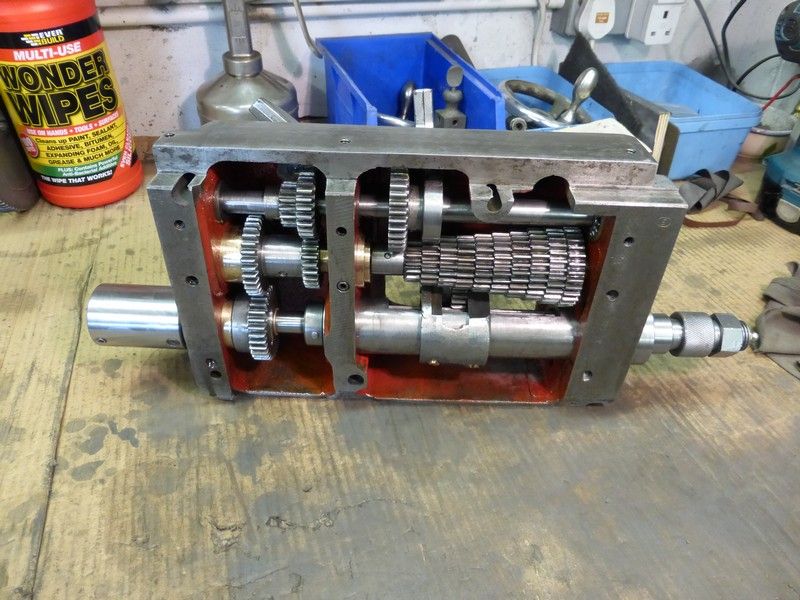
Right back to the lathe, its been electrics, lights , suds pump , Norton gear box , saddle , apron and lots of fiddly bits and bobs. A massive thanks to Bob KRV3000 for sorting out the Norton box and apron for me , Bob made new or fixed by sleeving most of the bronze bushes in box and apron as well as various other repairs that were needed after 60 years of use, as usual a superb job and they are sopt on now, so thanks again Bob.
  I had already cleaned up the castings for the apron , and gearbox in prep for painting, this is them after Bob had run his magic touch over them.


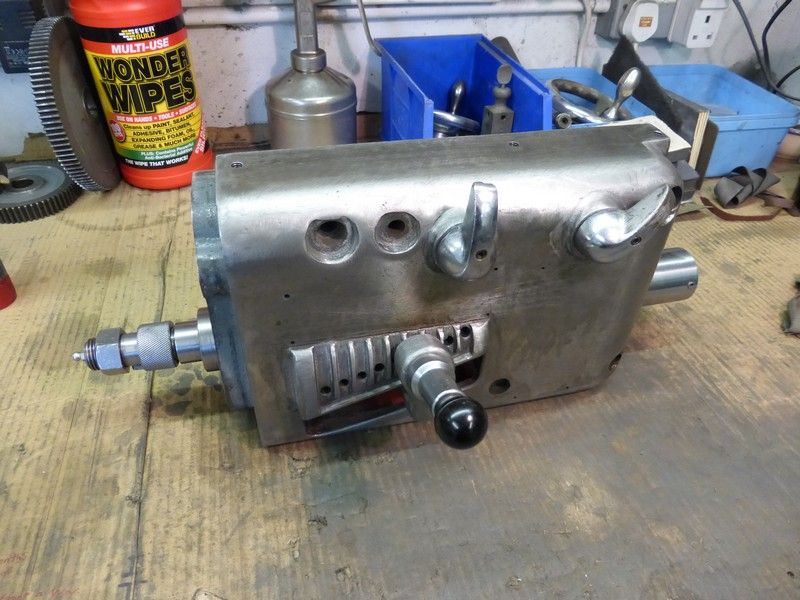
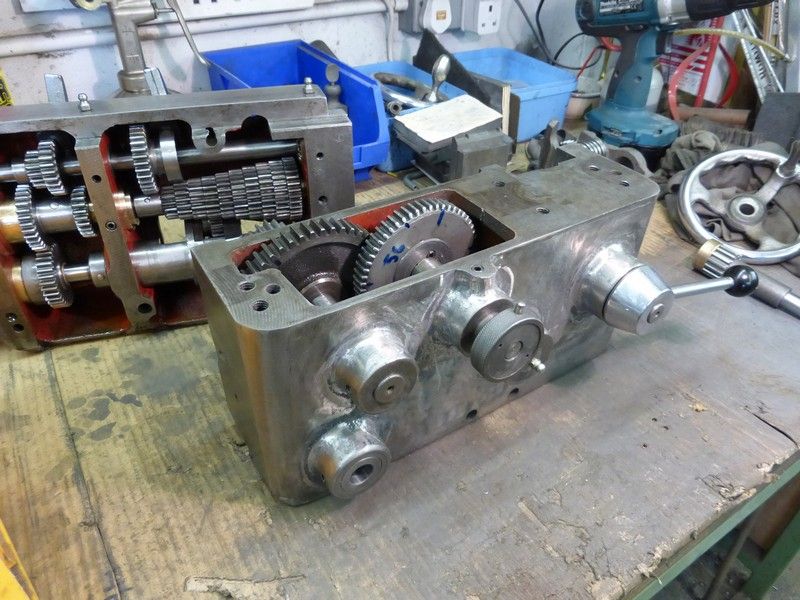
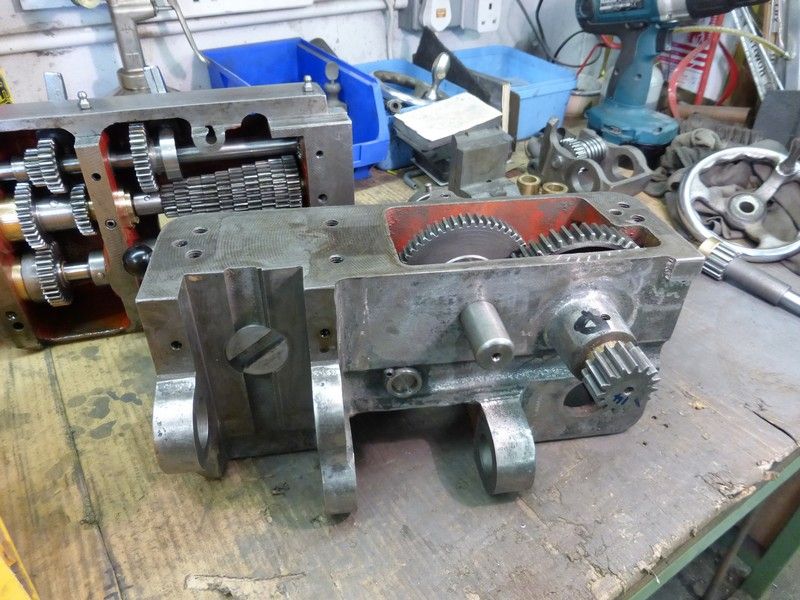
The Norton box was primed and then test run to check all was well before painting, all correct and working much slicker and more quiet.


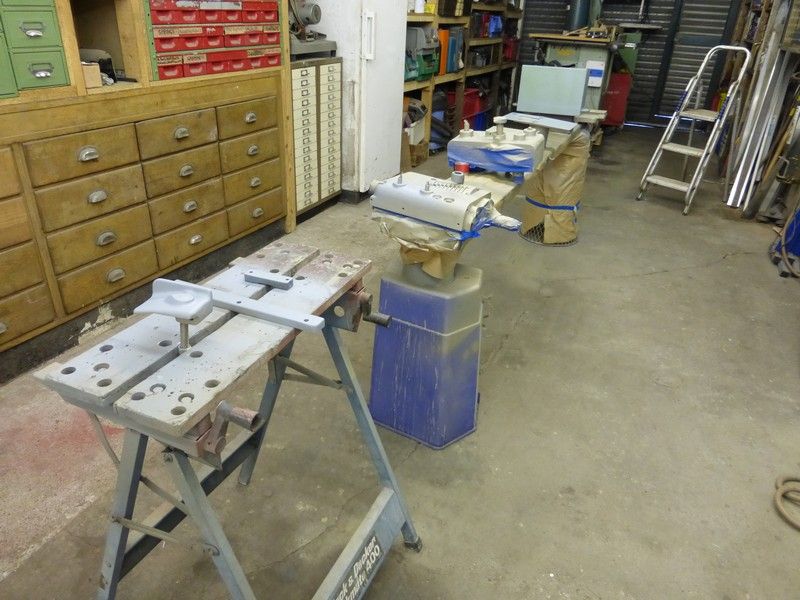
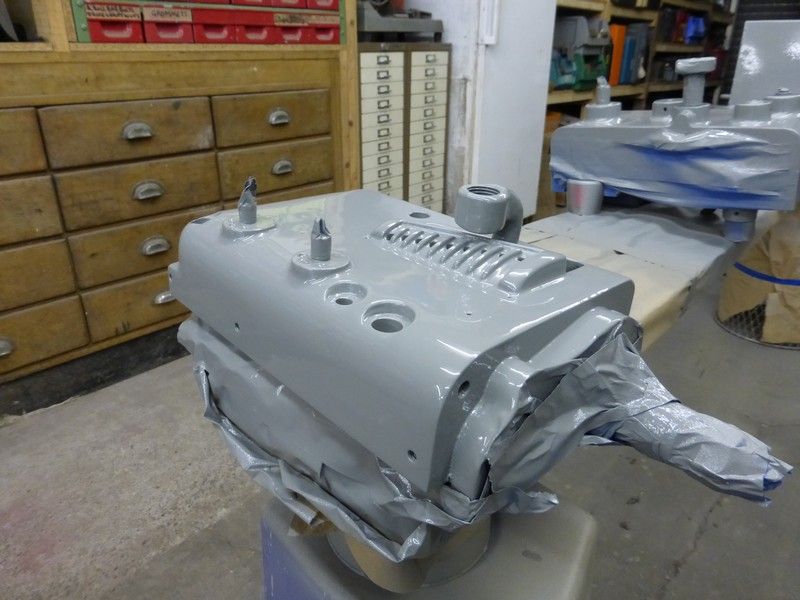
Time for more paint, primer first over the etch primer which is seen here.


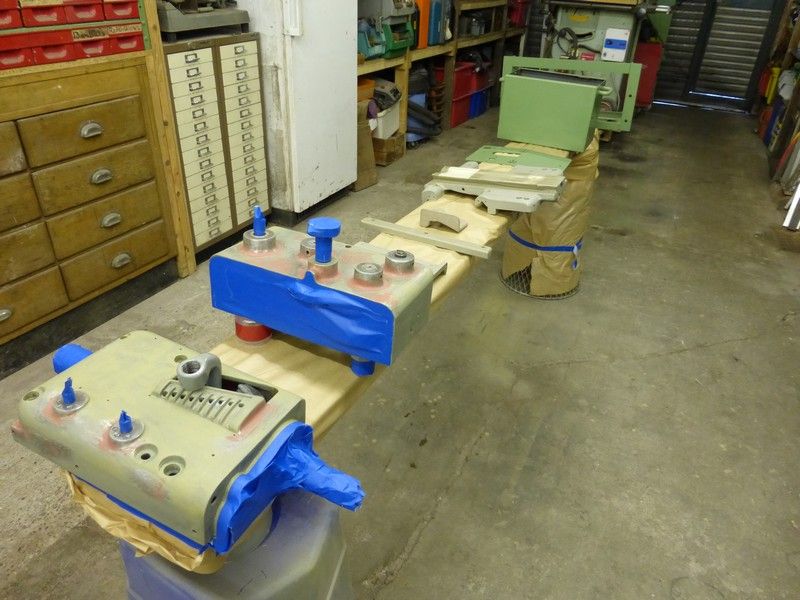
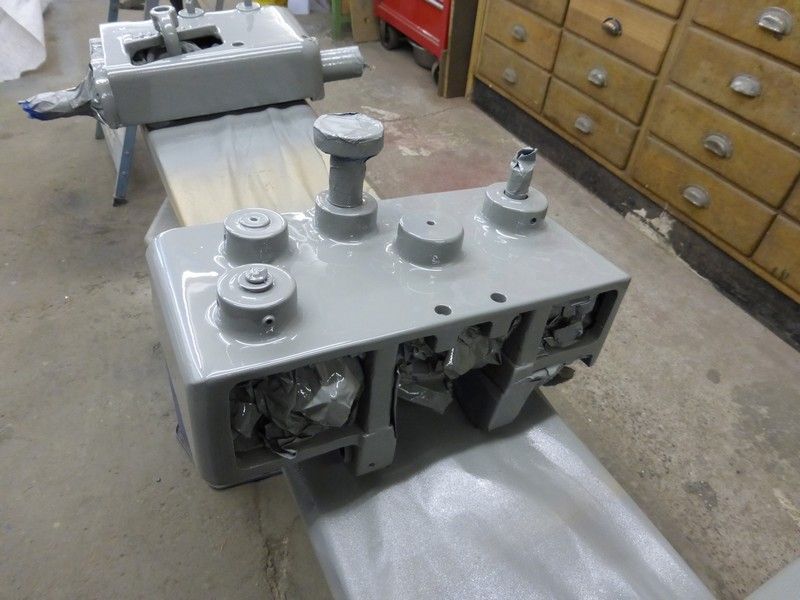
Then grey topcoat, I was glad to see this lot grey at last I can tell you
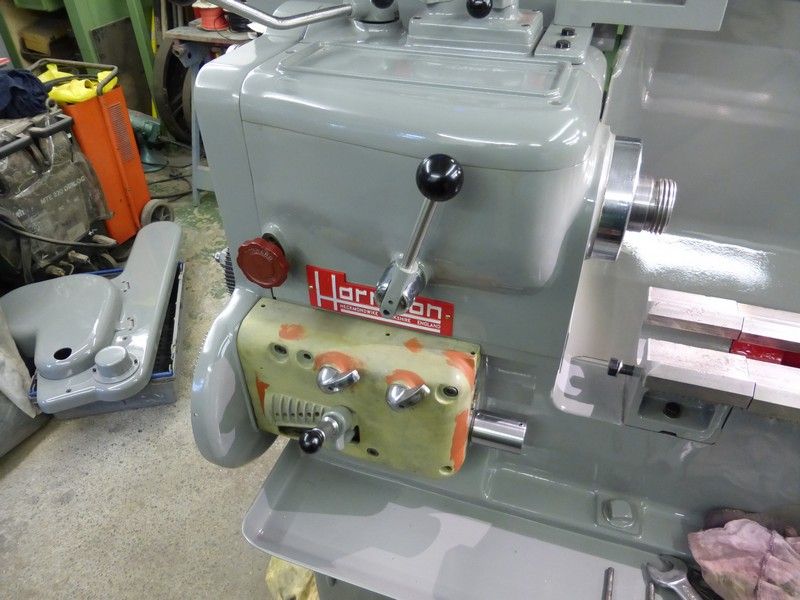
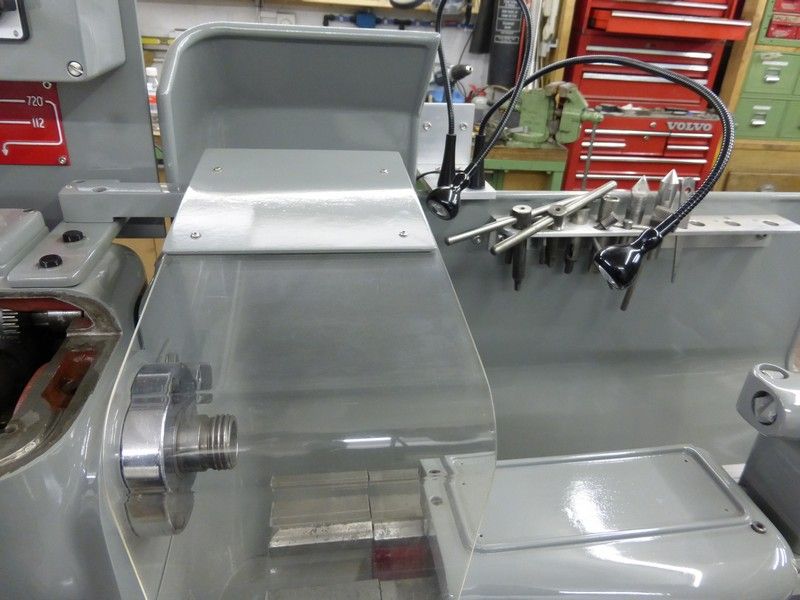
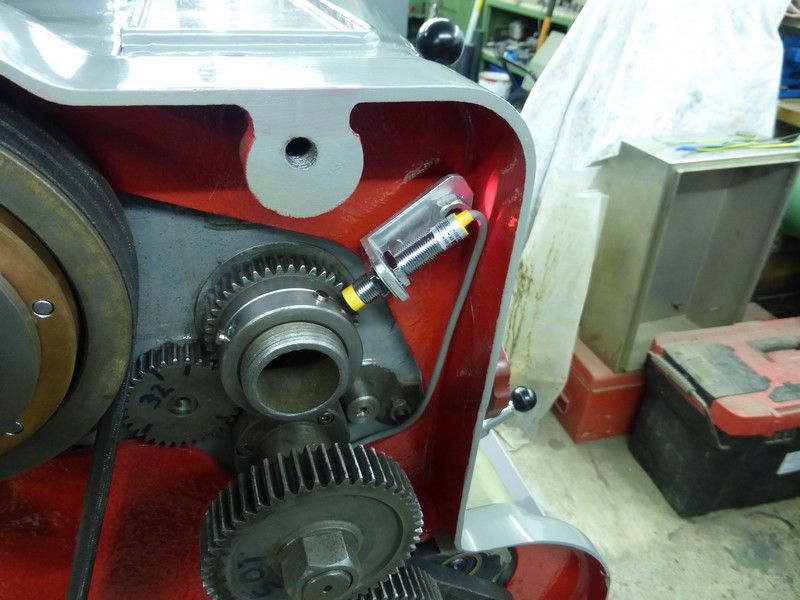


Box back on


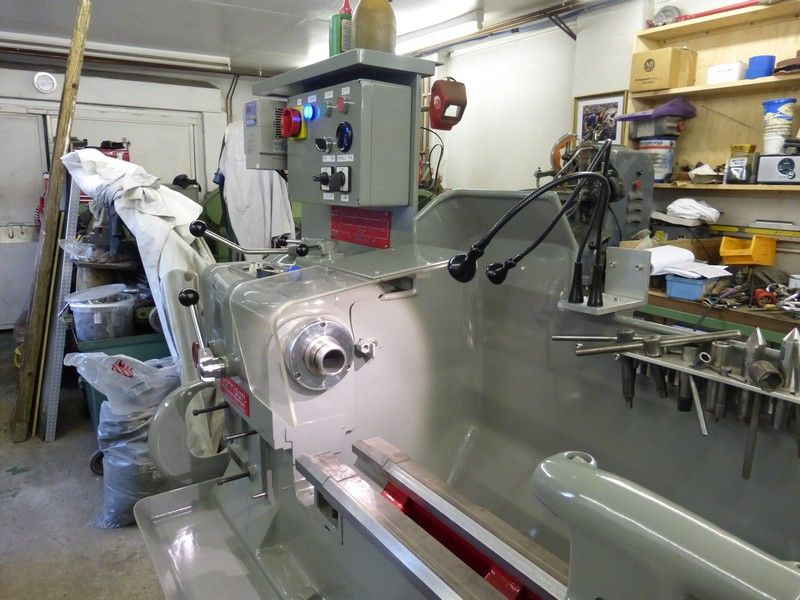
Chuck guard and LED lamps fitted


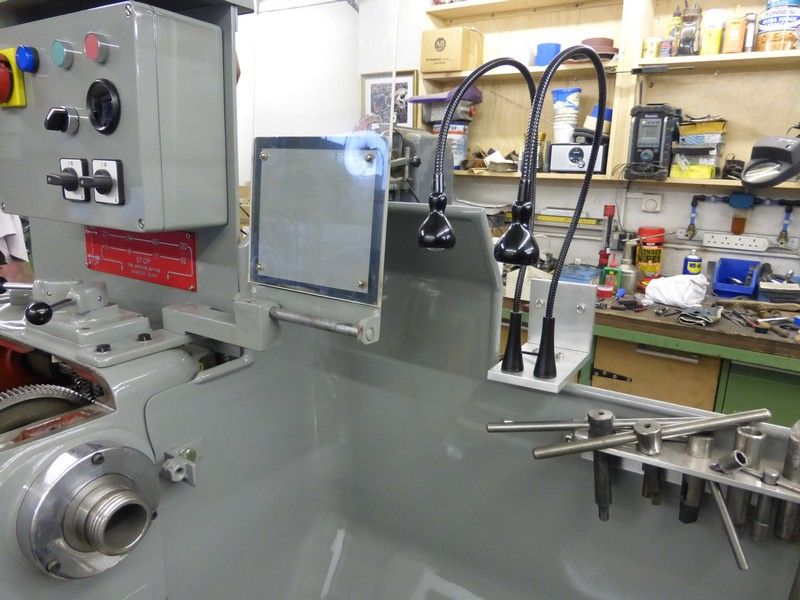
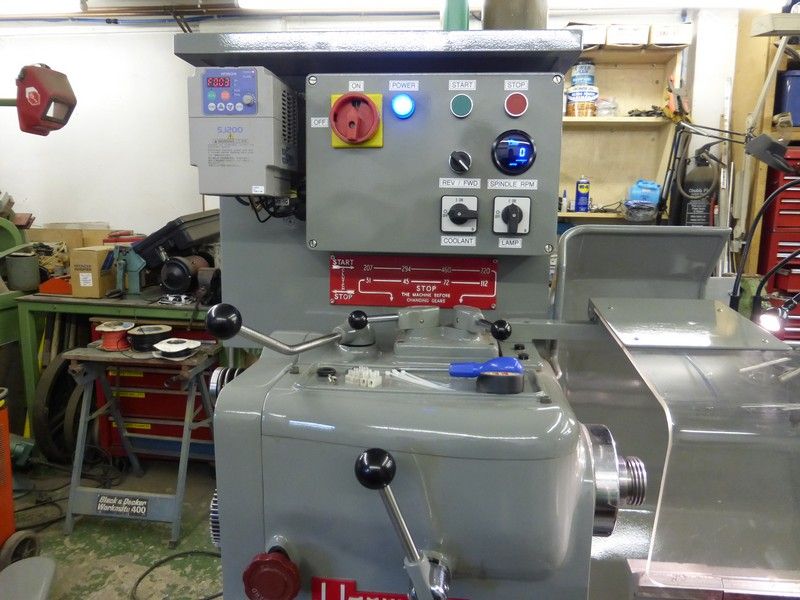
Then another big thanks to my mate Dave who managed to set the inverter up so I could use the switch gear as I wanted, the inverter works fine but is not easy to set up if you are not used to them.

 The front panel is all marked up with decals and the rev counter in place and wired up, this is 12volt unit meant for cars and has a pick up sensor that  works off magnets on a collar around the spindle.


 So thats about it up to now, the coolant tank and pump are fitted too and I am now sorting through all the little things that need fettled before they go back on but the light is at the end of the tunnel now I think .

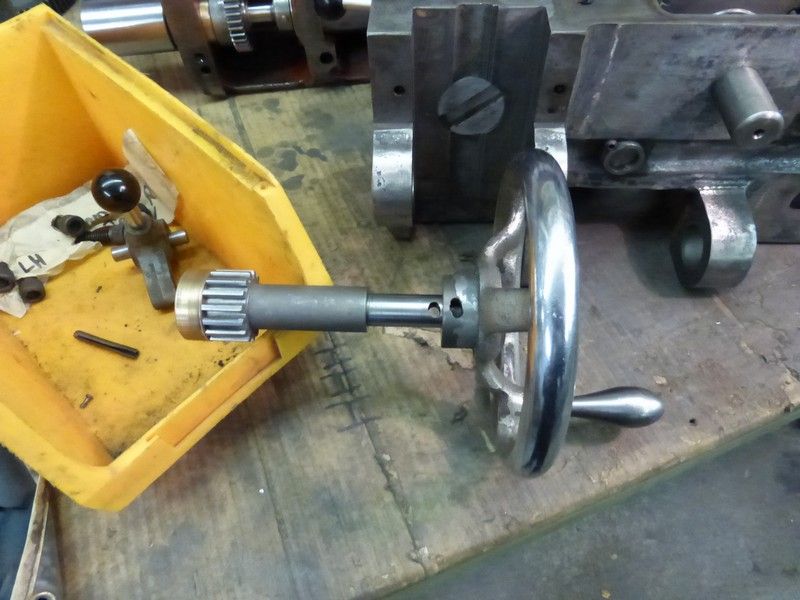
 The samll things are bit such as the hand wheel and shaft where the taper pin would not come out , then drilled off center so will have to be repaired before fitting again , all time consuming stuff.


  Cheers Mick