Author Topic: Mill Drill Igaging Dro Install Notes  (Read 21938 times)

Offline vtsteam

  • Global Moderator
  • Hero Member
  • *****
  • Posts: 6466
  • Country: us
  • Republic of Vermont
Re: Mill Drill Igaging Dro Install Notes
« Reply #25 on: June 19, 2014, 09:12:28 PM »
And I'm still following this -- very nice looking work, Anthony.

Do I see an Atlas horizontal mill, in addition to the shaper?
I love it when a Plan B comes together!
Steve
https://www.youtube.com/watch?v=4sDubB0-REg

Offline ieezitin

  • Hero Member
  • *****
  • Posts: 662
Re: Mill Drill Igaging Dro Install Notes
« Reply #26 on: June 20, 2014, 05:05:46 PM »
VTsteam..

Yes its an Atlas horizontal, its a basket case..the original power transmission has been converted to a timing belt drive, so no change over on speeds, no table drive (knuckle PTO) and the motor has fried.

I purchased it for a project but my heart fell out of it.... I think the horizontal design is really valuable, Hobbing, keywaying and such, and the word on the street for model makers this is the power house of small machine tools, ive used it but not much.....

Alas one day the hammer is coming down and will be parted out, or sold whole for a reasonable fee.

Anthony.
If you cant fix it, get another hobby.

Offline vtsteam

  • Global Moderator
  • Hero Member
  • *****
  • Posts: 6466
  • Country: us
  • Republic of Vermont
Re: Mill Drill Igaging Dro Install Notes
« Reply #27 on: June 20, 2014, 10:19:33 PM »
I have an Atlas H Mill, too, though missing the table drive -- otherwise in fine shape.

I seem to have, not by intention, a nearly complete Atlas shop -- Craftsman 12" Lathe (Atlas made), Atlas shaper, and the Atlas horizontal mill. When I bought the lathe, the seller even threw in a small Atlas screw press as a bonus.

And like you also have the Asian round column mill drill (mine is branded Enco) and the same DRO's (unmounted yet). I'm waiting to see how yours turns out before starting to add mine. And I really want to get the shaper working by this summer. I think I'm just missing a gear in the table advance for that. Keep up the good work!
I love it when a Plan B comes together!
Steve
https://www.youtube.com/watch?v=4sDubB0-REg

Offline ieezitin

  • Hero Member
  • *****
  • Posts: 662
Re: Mill Drill Igaging Dro Install Notes
« Reply #28 on: June 29, 2014, 08:28:13 PM »
well.... i have completed the install. the z axis was by far the most complicated. The slide bar i installed worked, its runout is about .005 overall length both ways, the bushing i put into the quill plate holds the tolerance for what this set up can handle, granted i have not used it allot yet, but i have run it up and down at least 40 times, also milled a slot to depth and it showed dead on, saying that it may gradually loose tolerance.

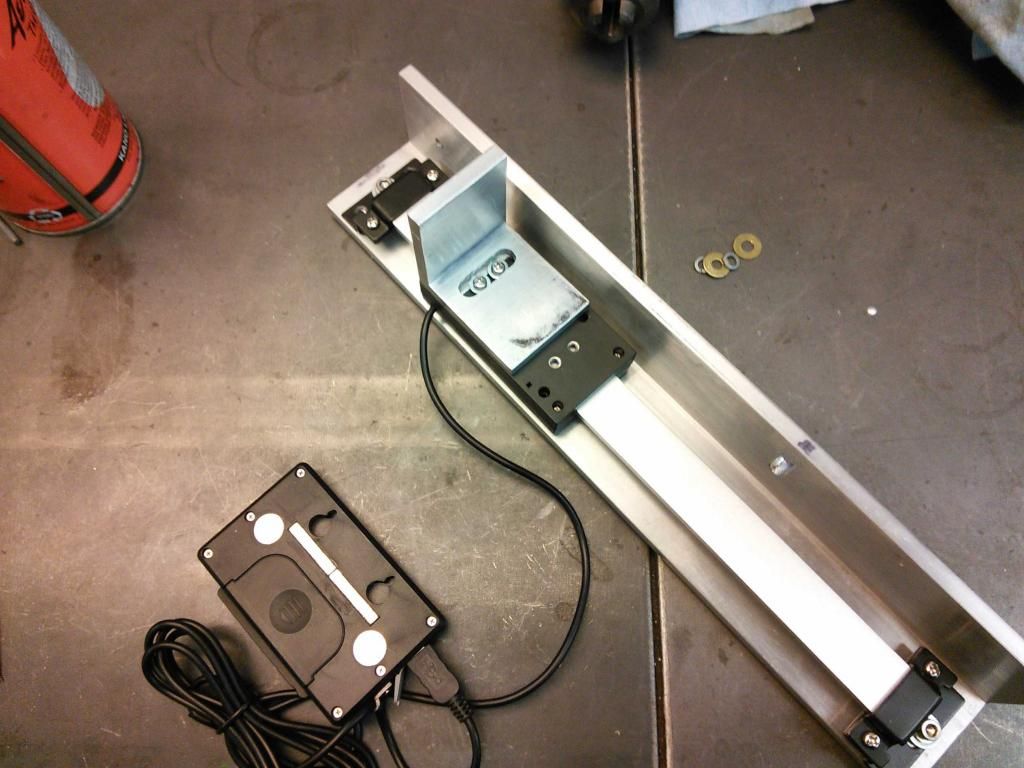
Here is the bracket from the slide rod.


Here it is installed.


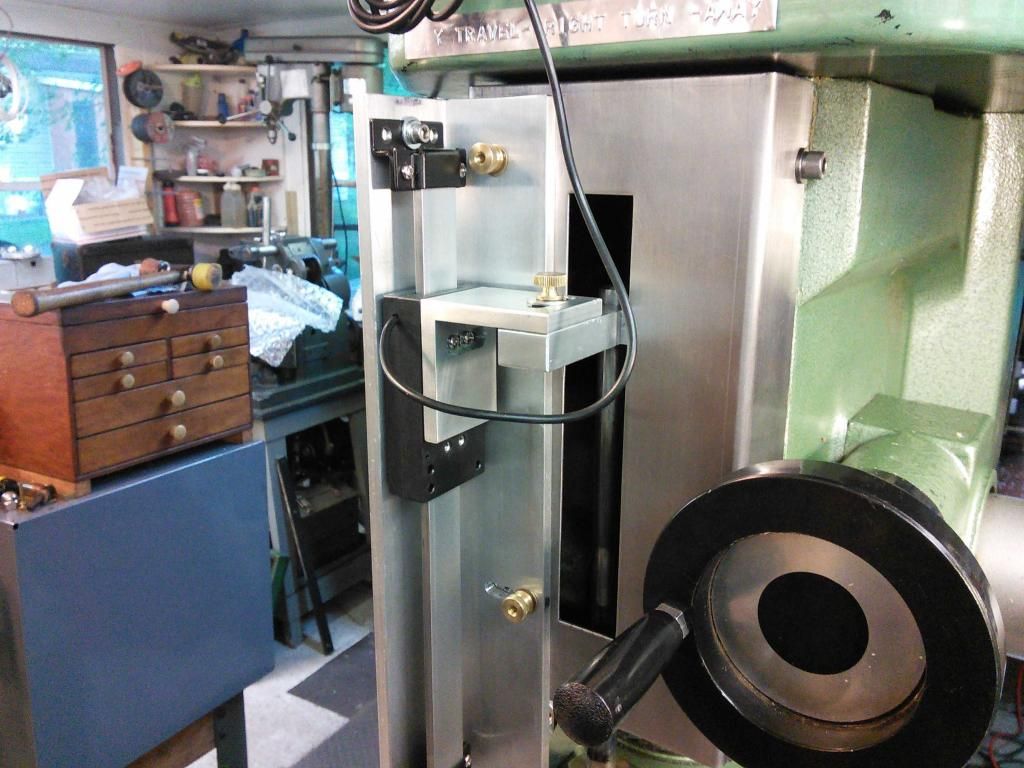
All i have to do now is make a cover plate for it.


It from the picture dont look square but it is.


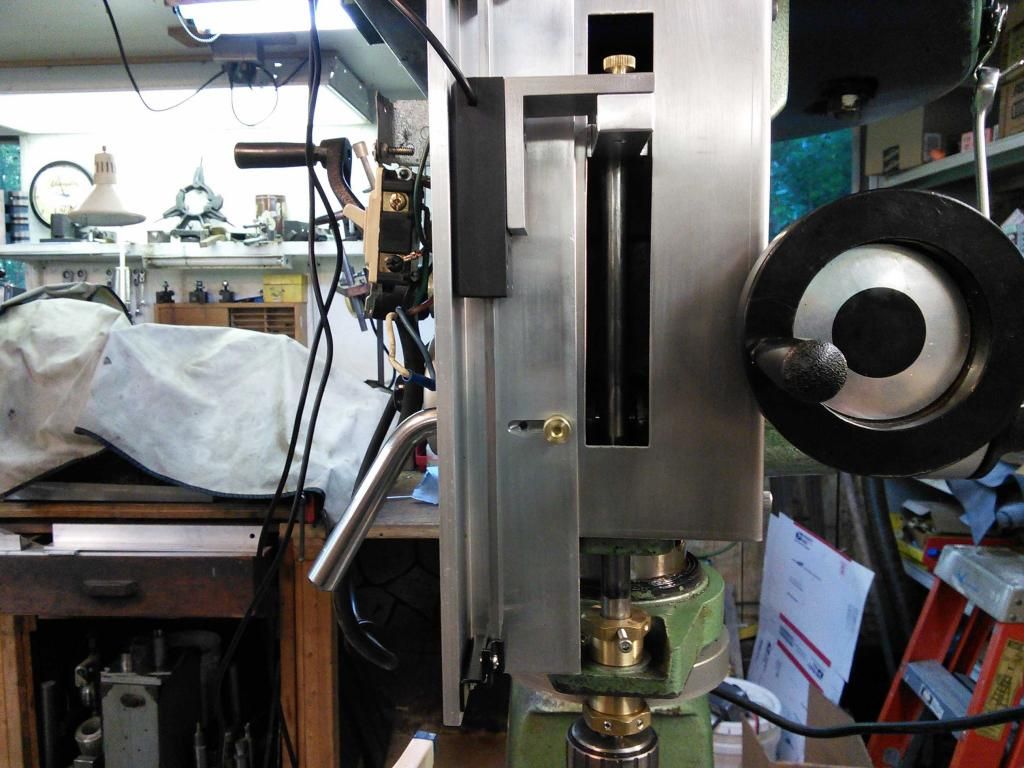
If anyone is going to do this install make sure all your fixture holes can be tweaked, slots and wide hole clearance are a must, all fasteners can have washers which will take up the width. My Bushing arrangement worked, the key was the straight piece of instrumentation tubing i used, a straight piece of drill rod will do the same, there is slight play but the closer it gets to the bushing it closes in. My tolerances on the rod are less than .005 on both directions.

I will use this set up for a while and report what  find, all in all i am happy with it.

Anthony.   


If you cant fix it, get another hobby.